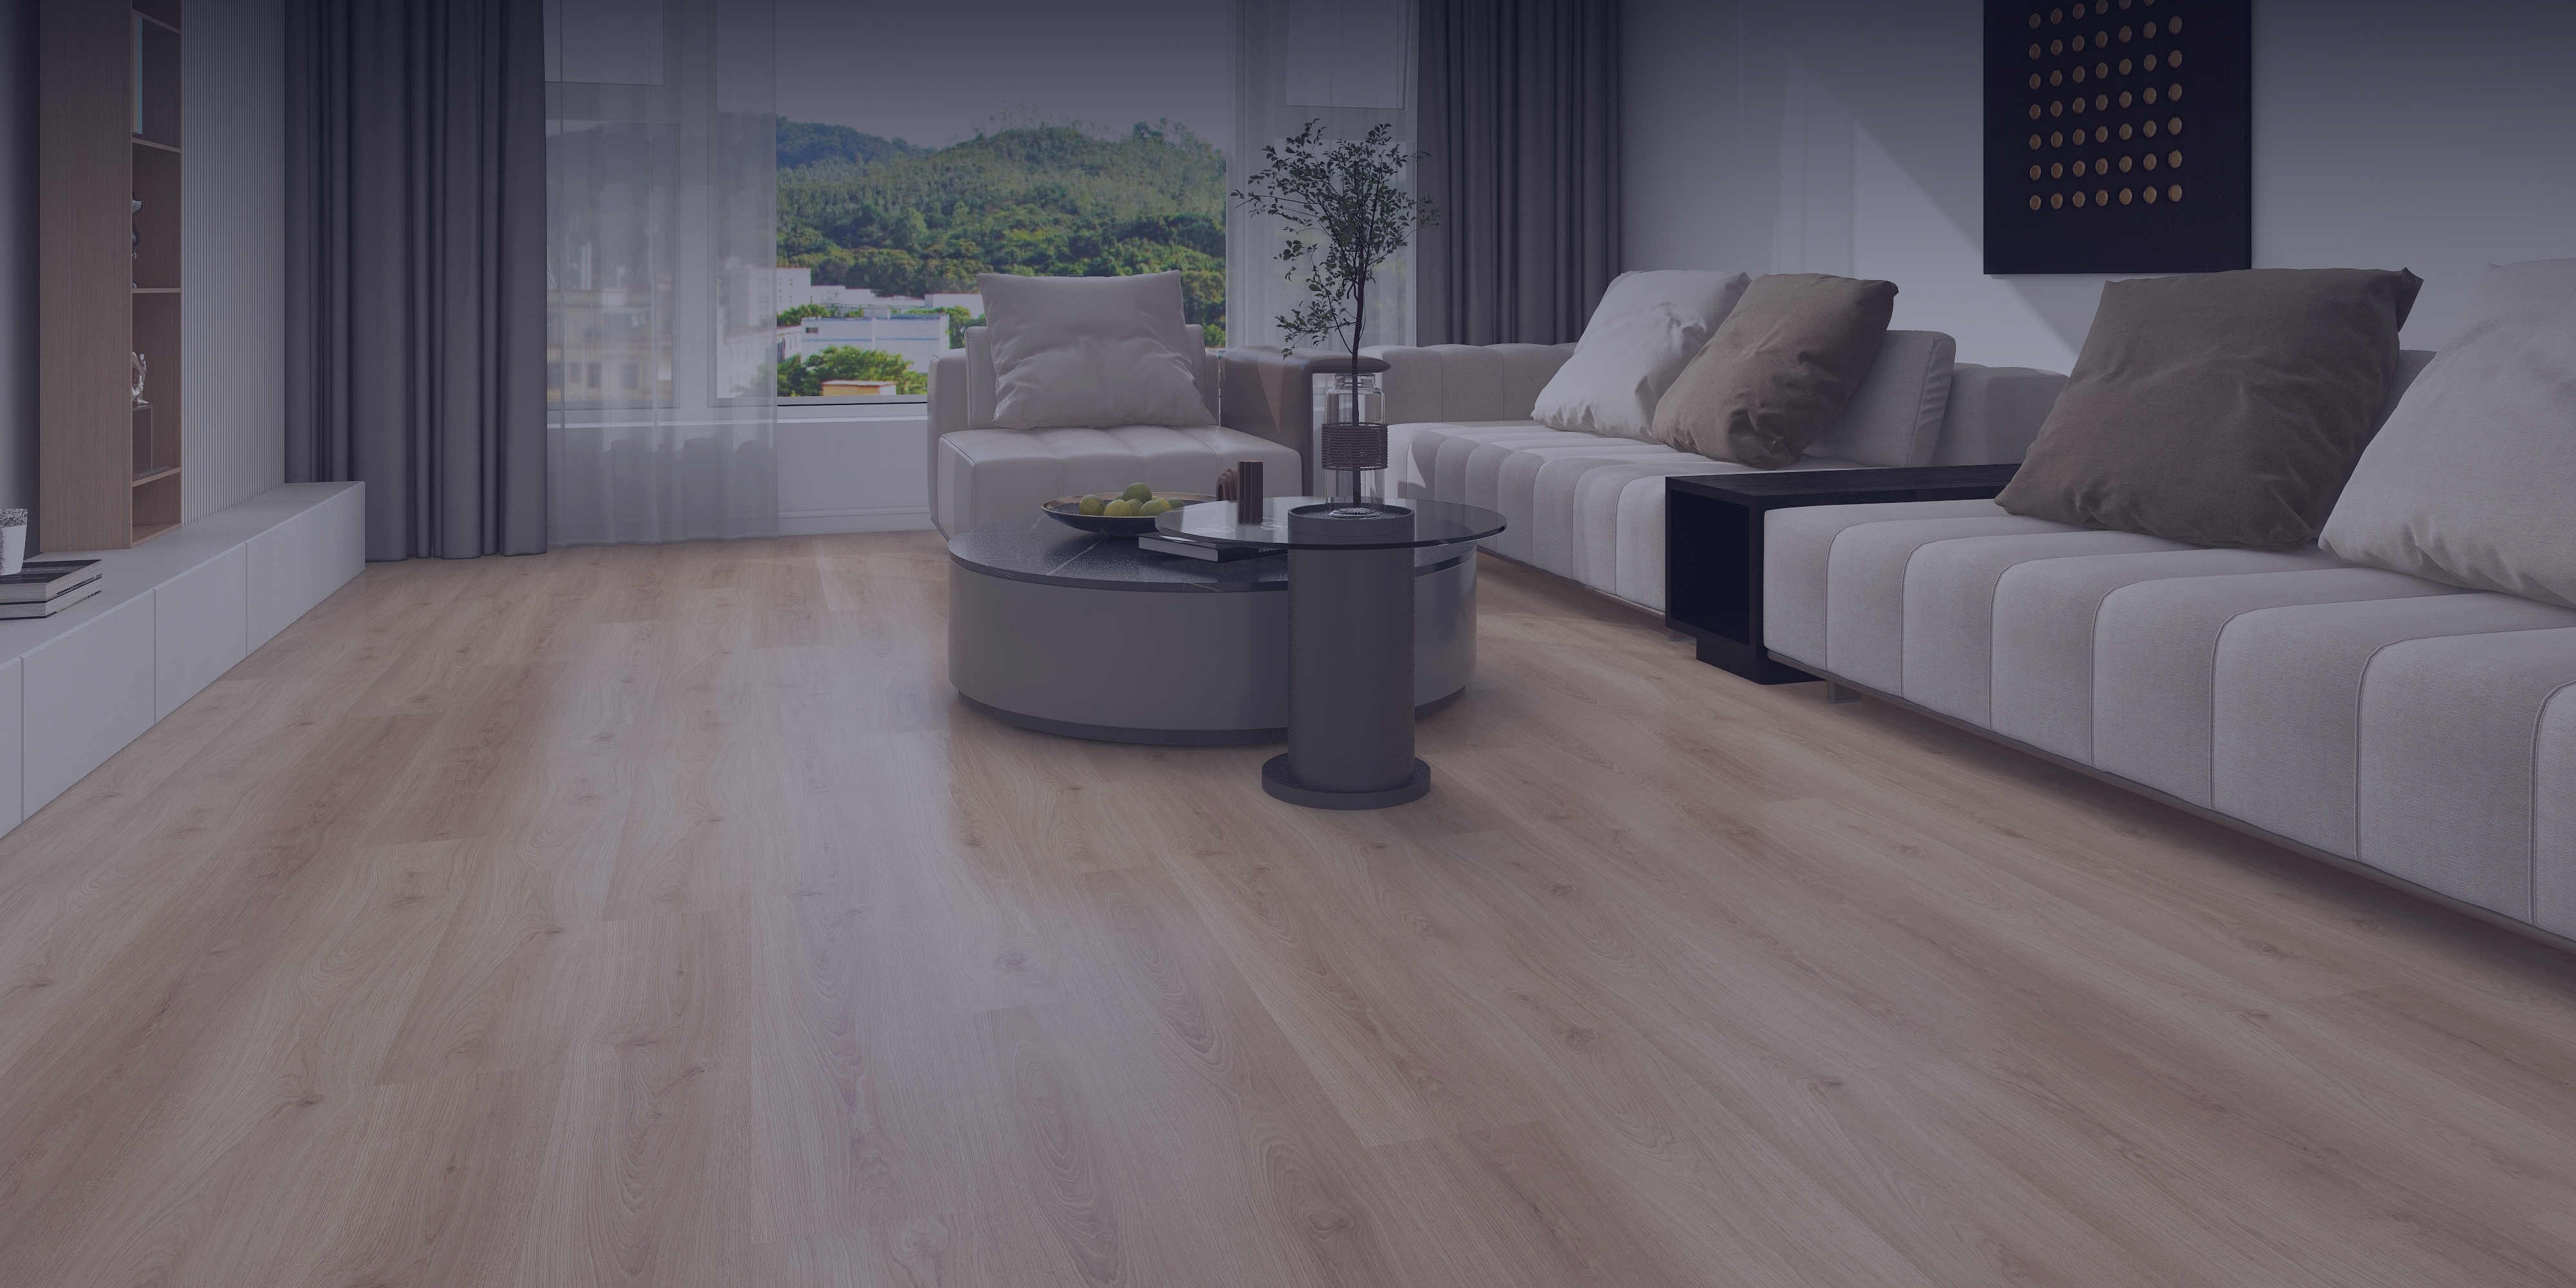

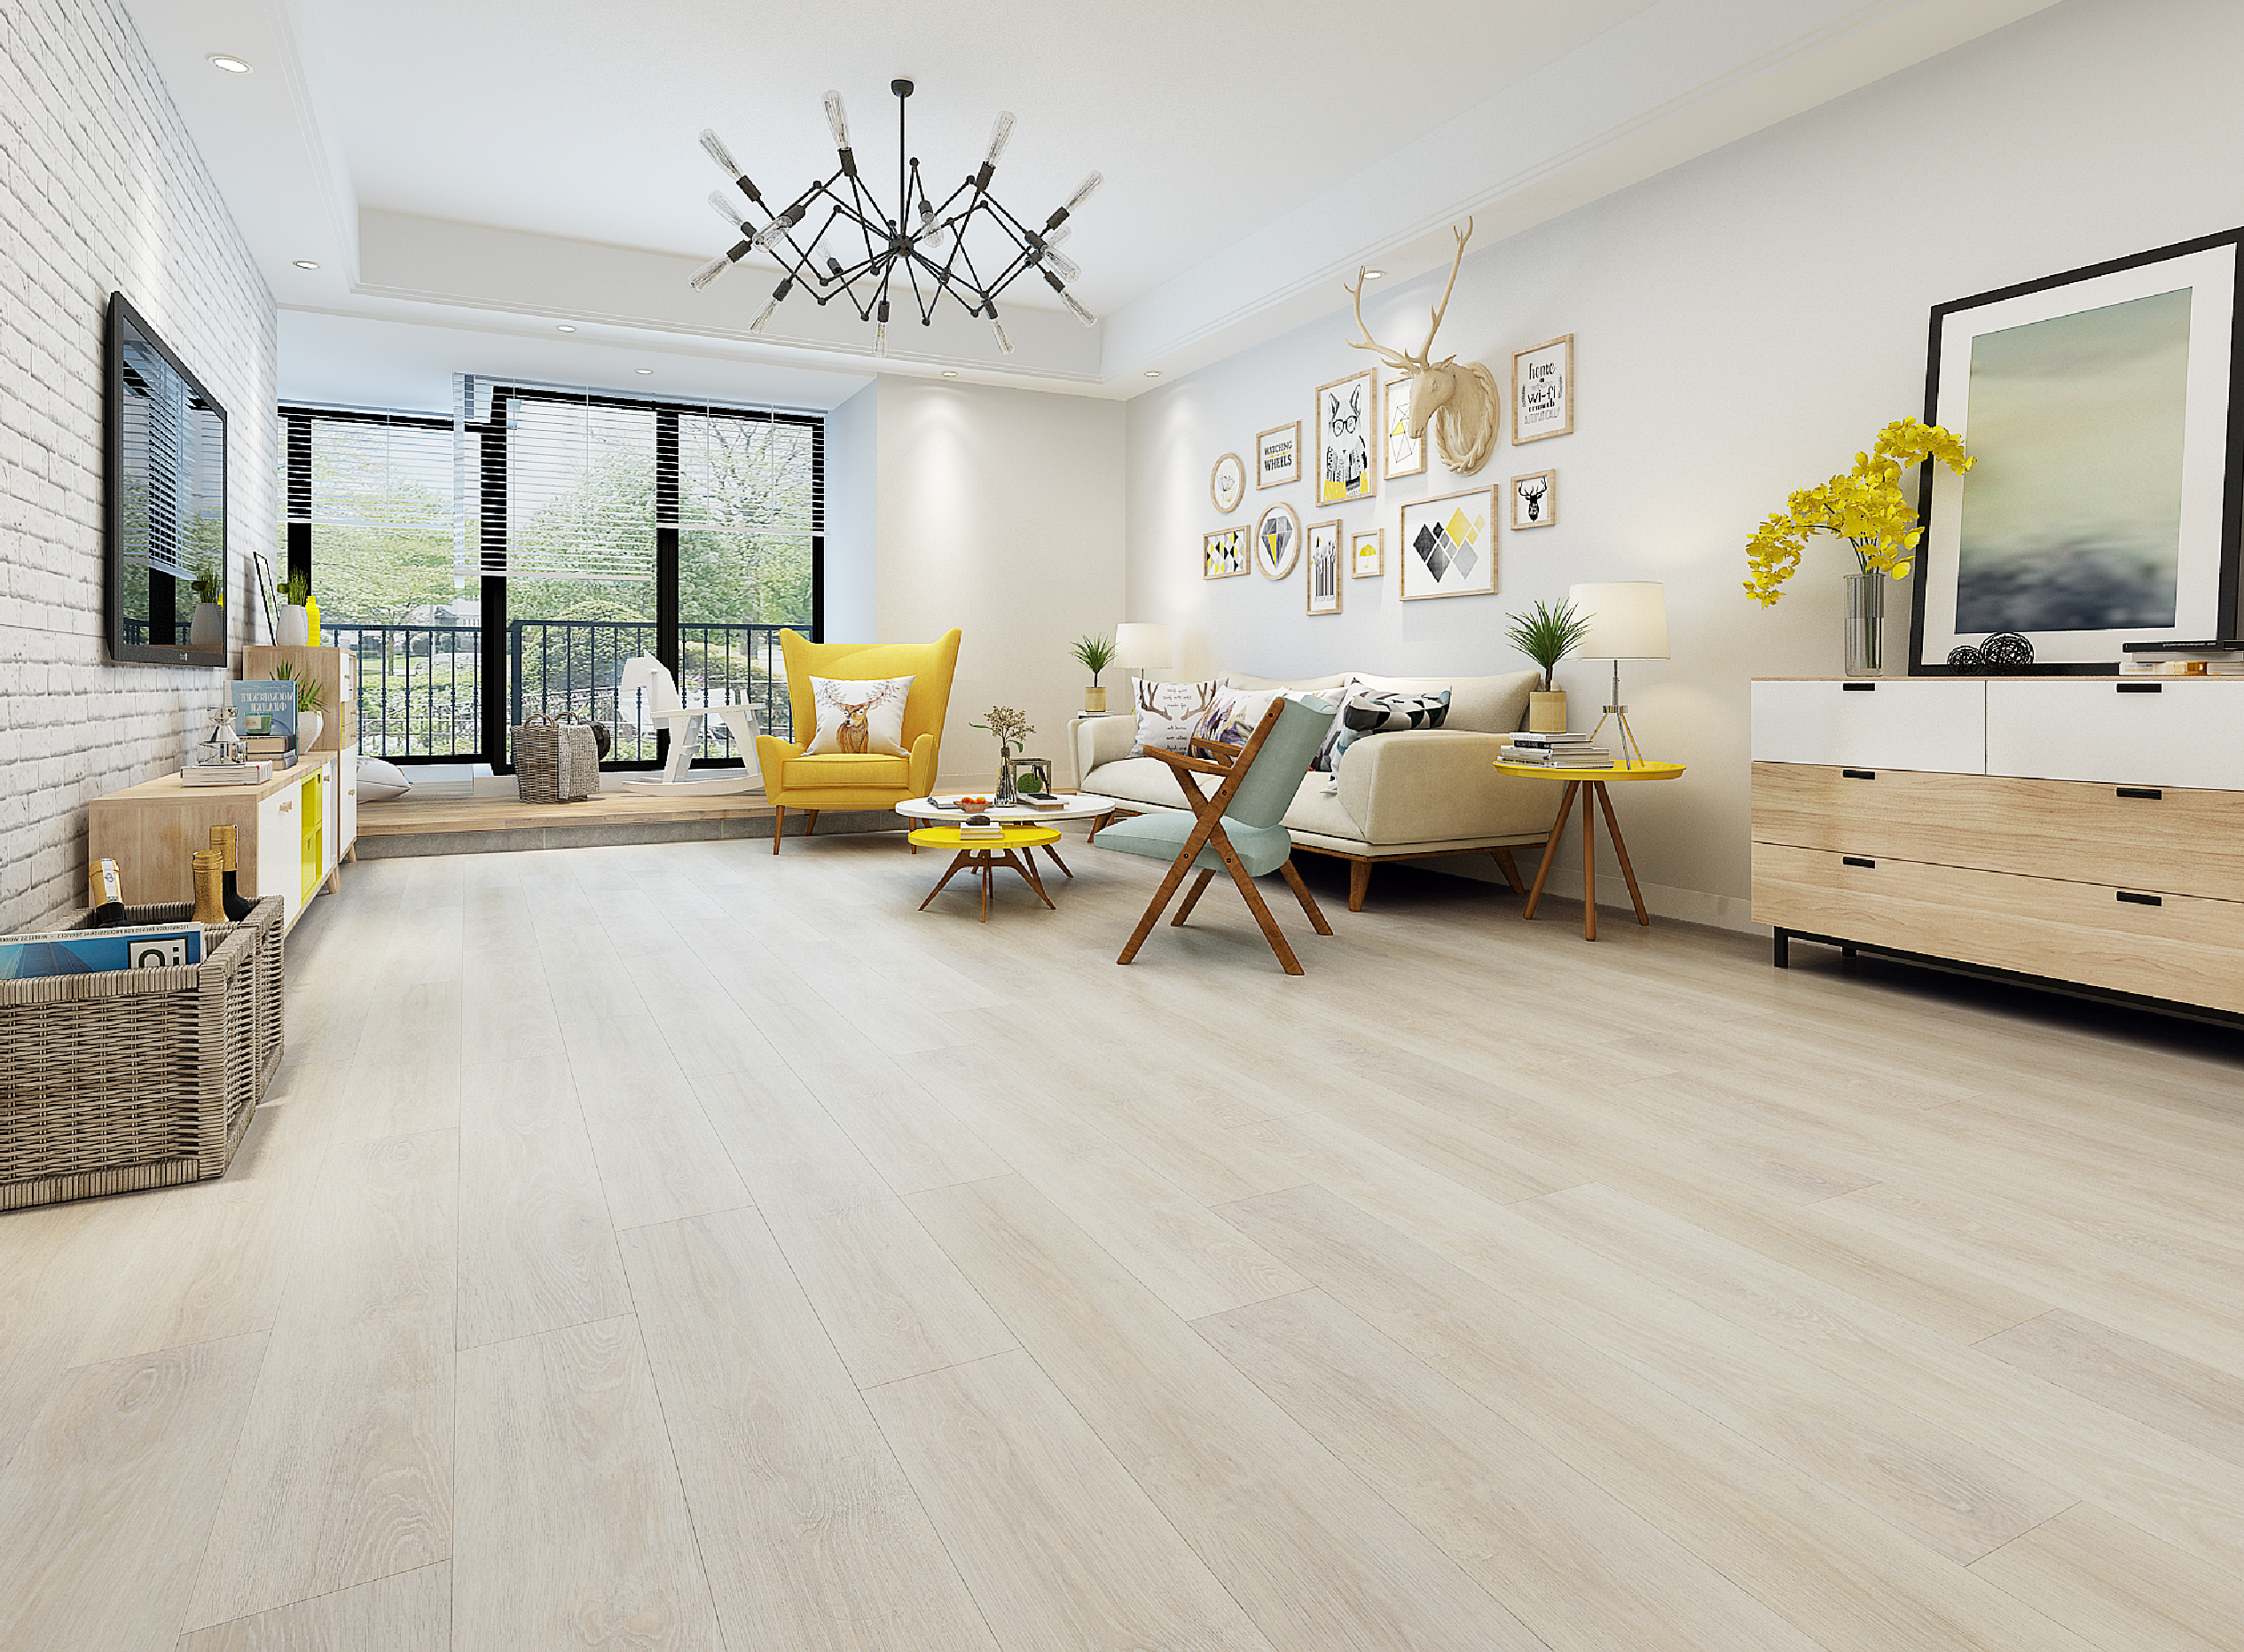
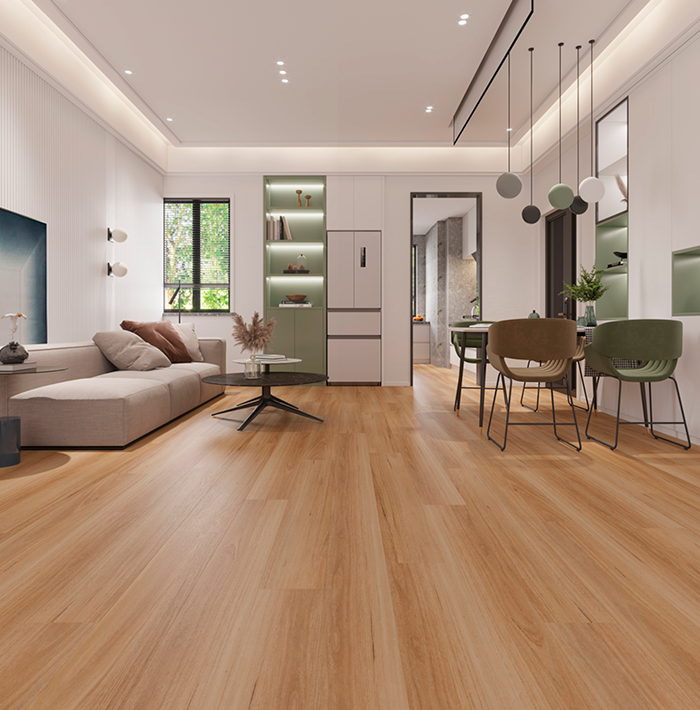
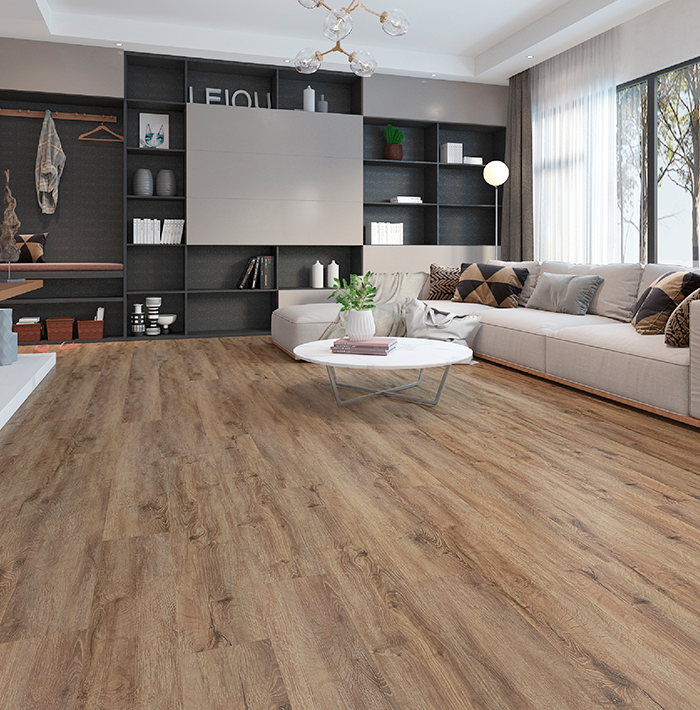
UNIQUE COMBINATION OF DESIGN, DURABILITY, AND SIMPLICITY
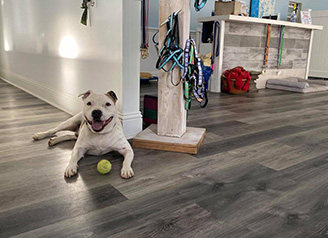
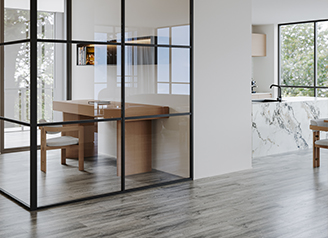
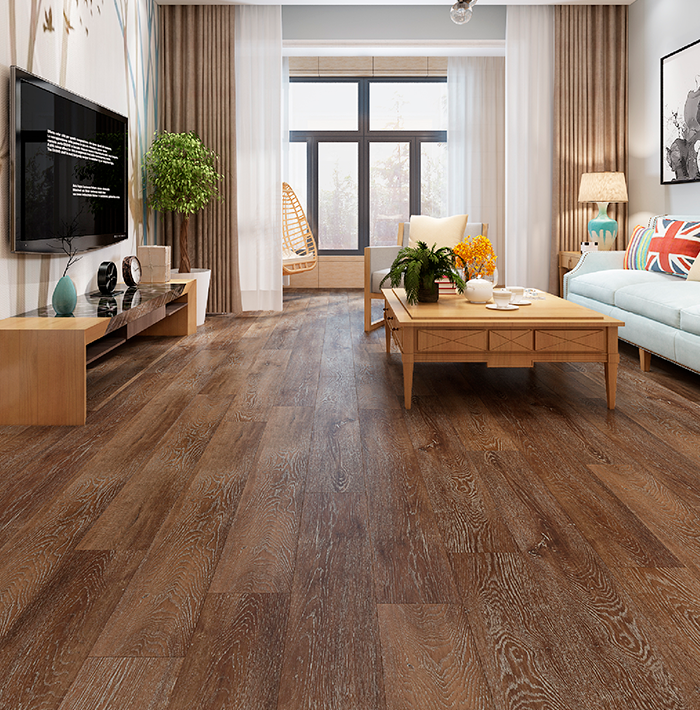
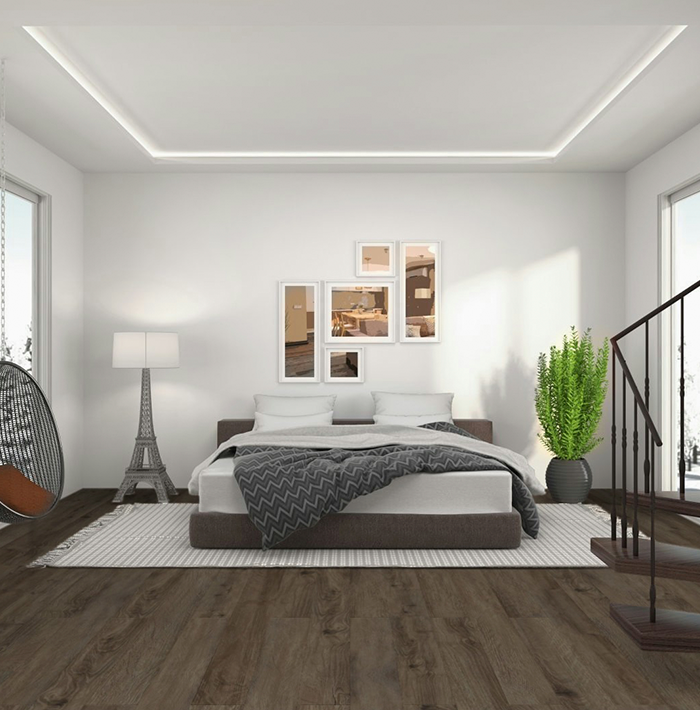
Permshield carries 100% waterproof, kid-proof, pet-proof luxury vinyl planks that fit beautifully in your home. Our products are designed to show off your style while maintaining all sustainability standards that promote the planet’s well-being and your own.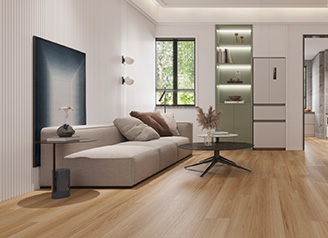
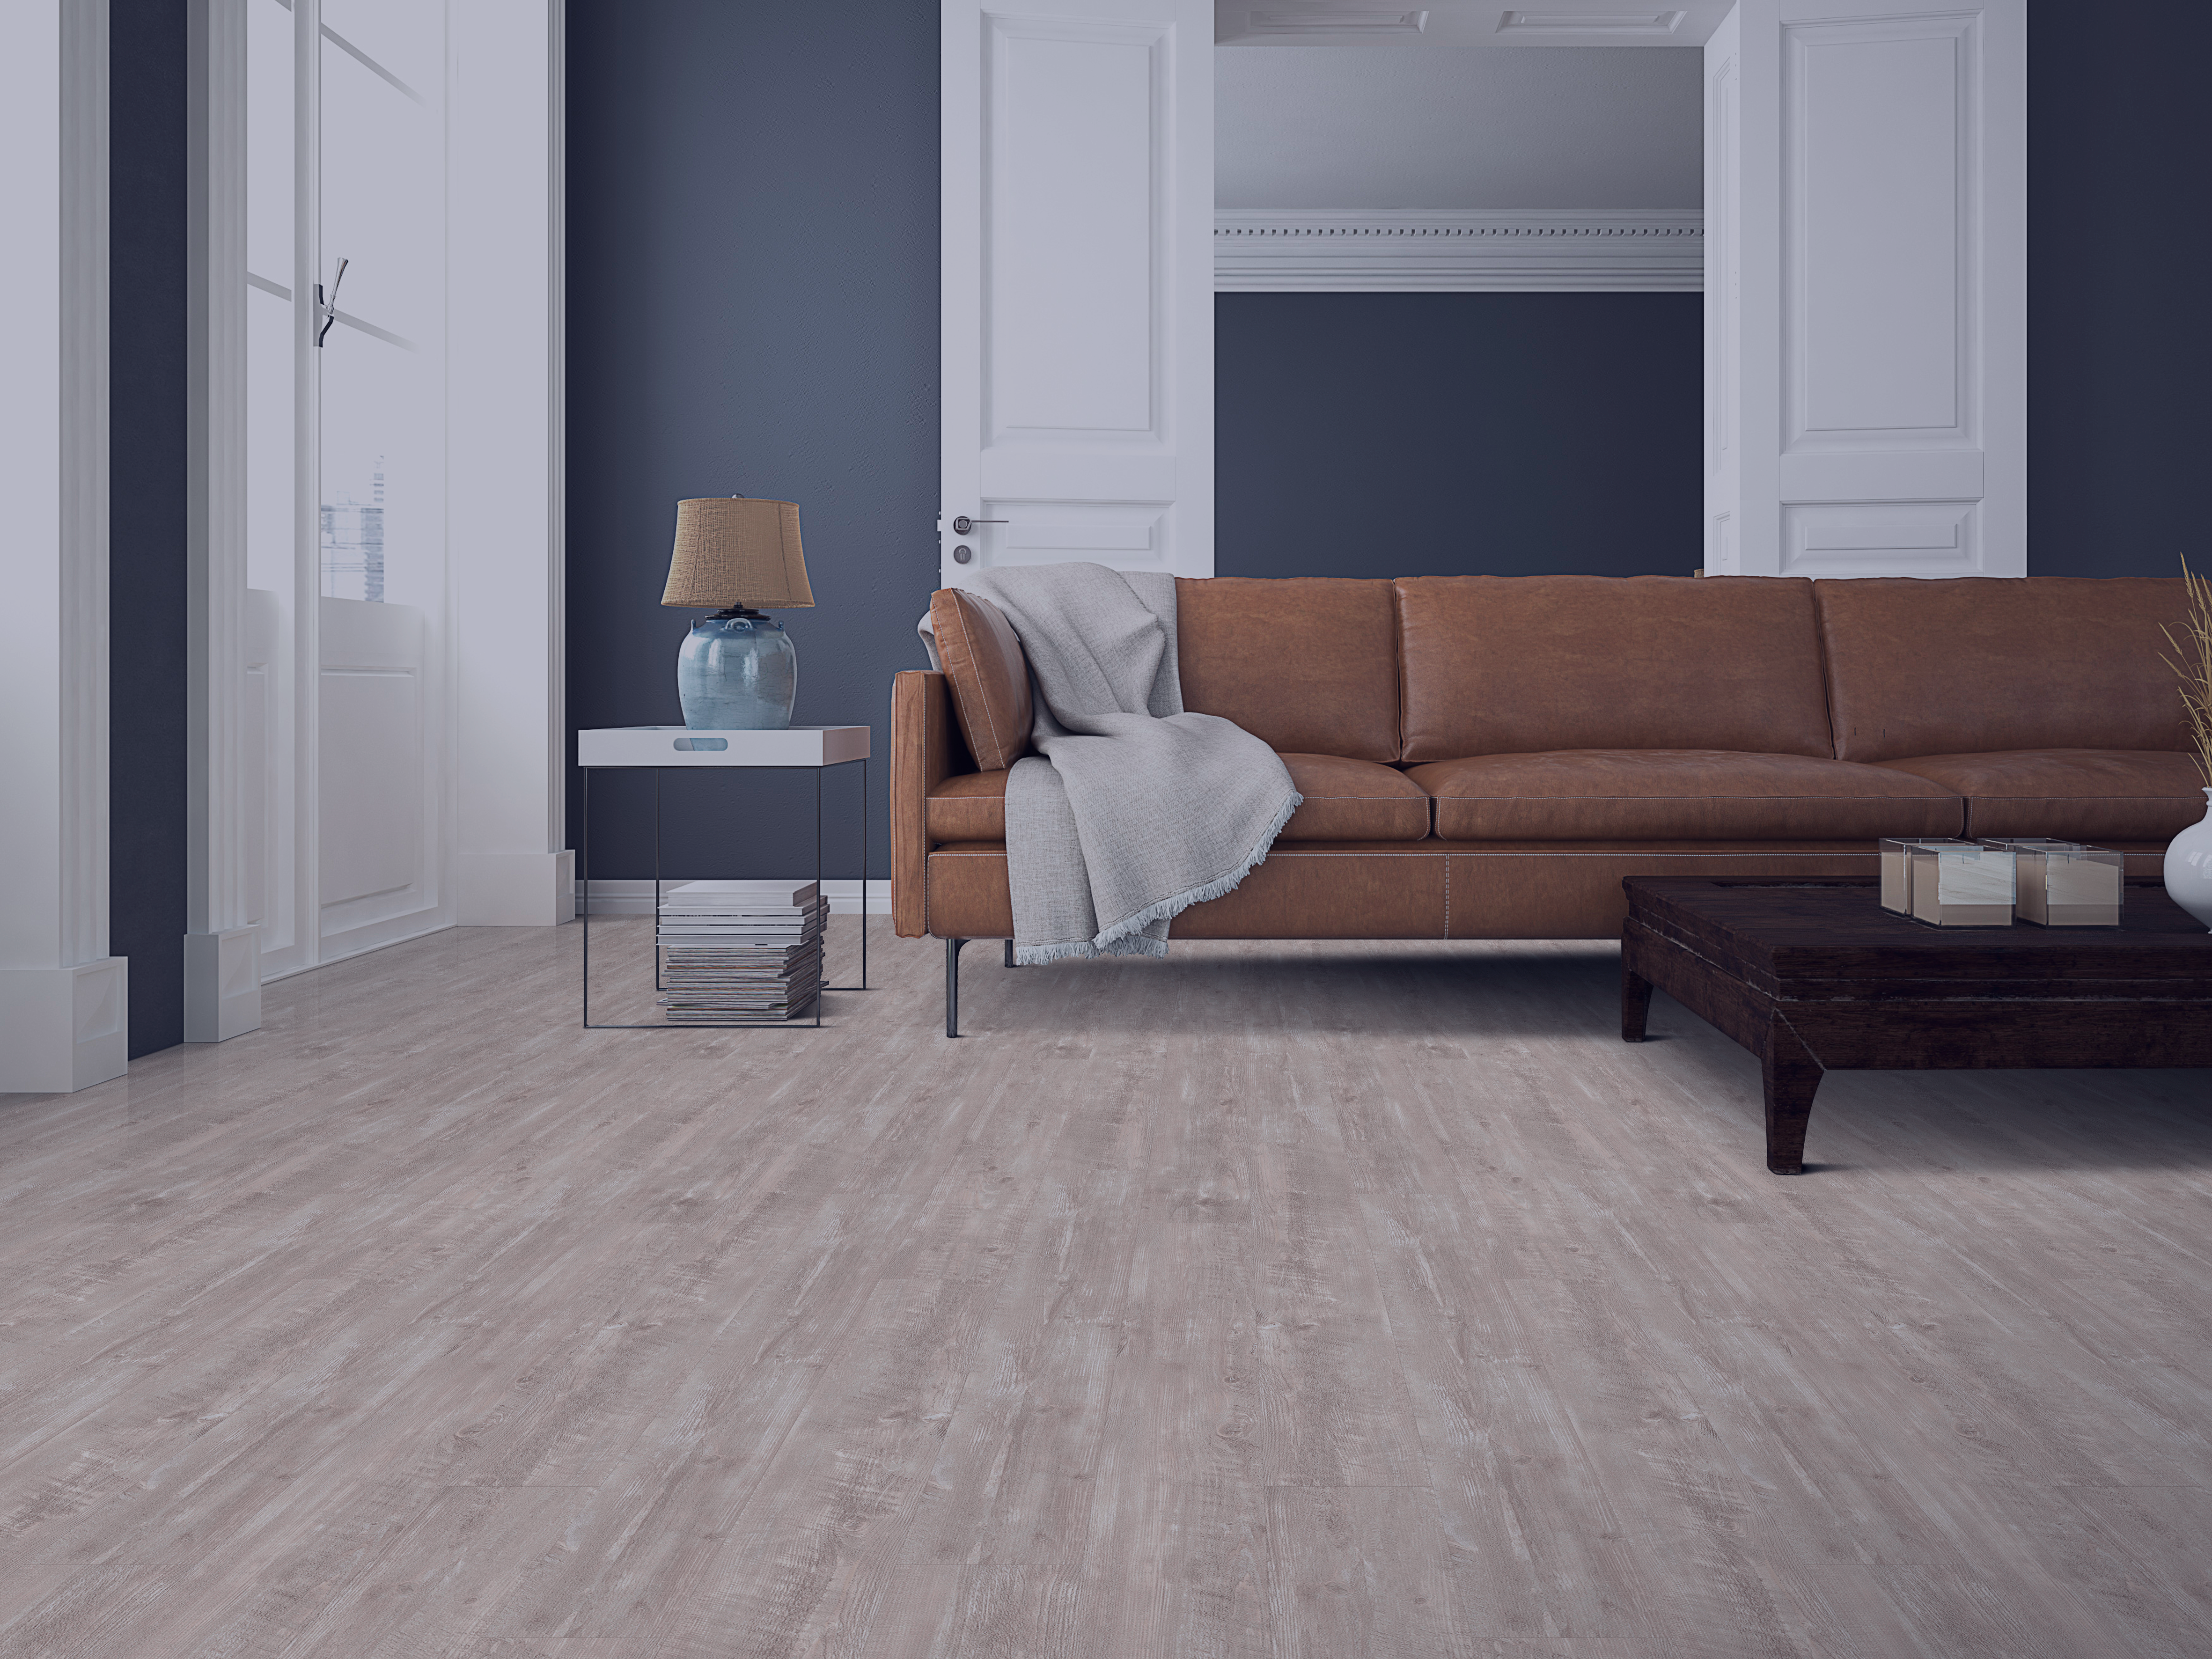
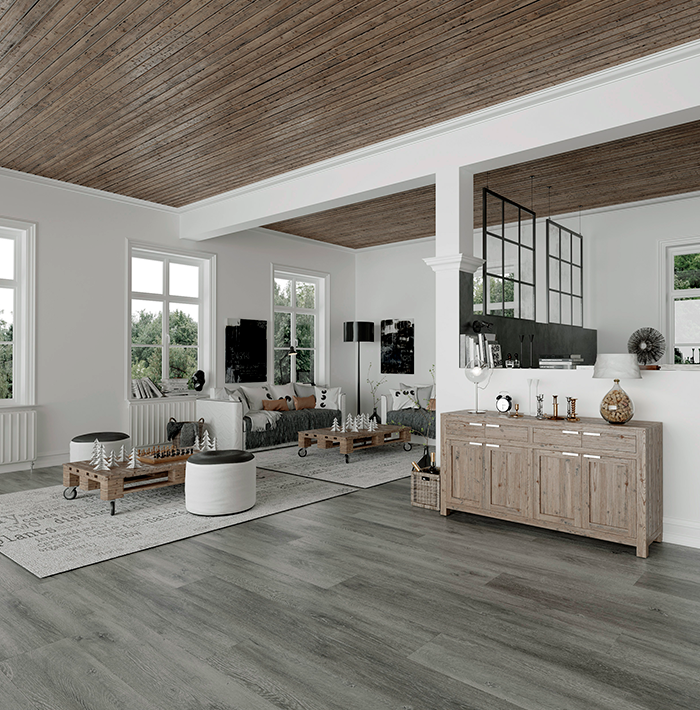
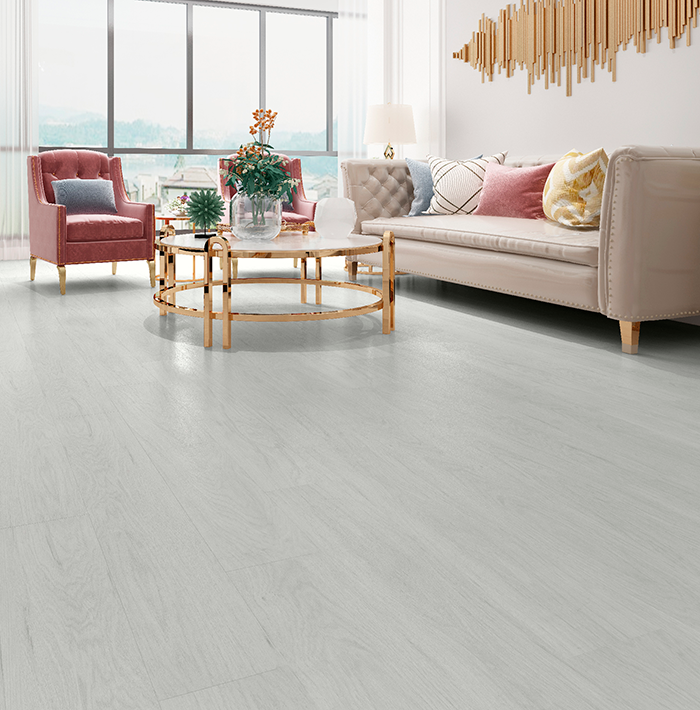
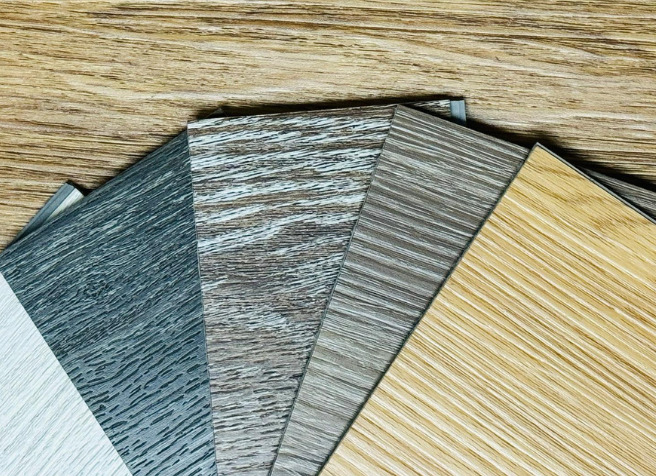
Shop By Color
Browse styles by popular colorways to find floors that complement your furniture and decor.
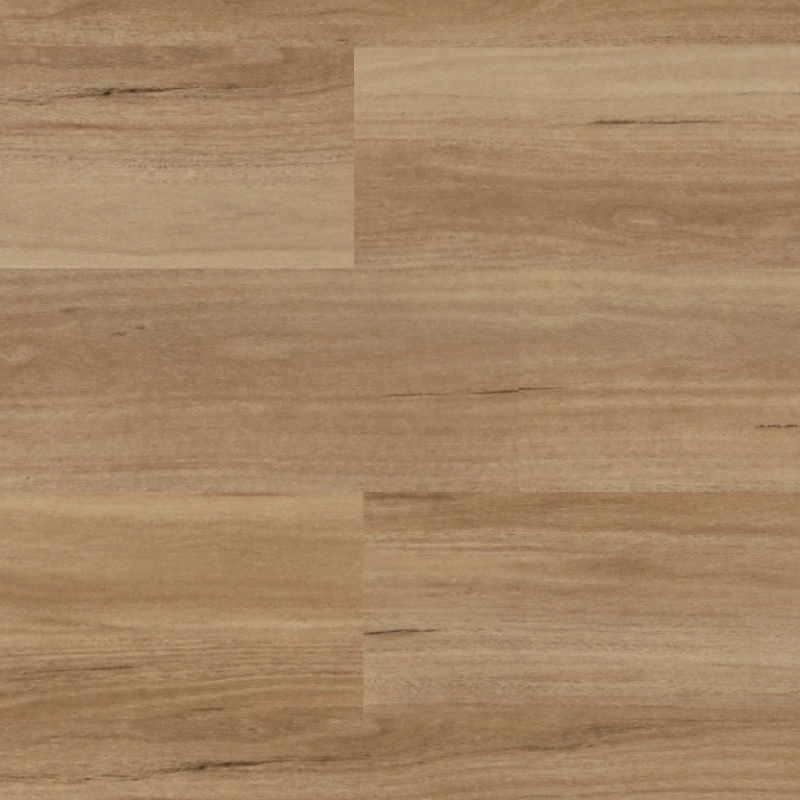
TRENDING COLORS
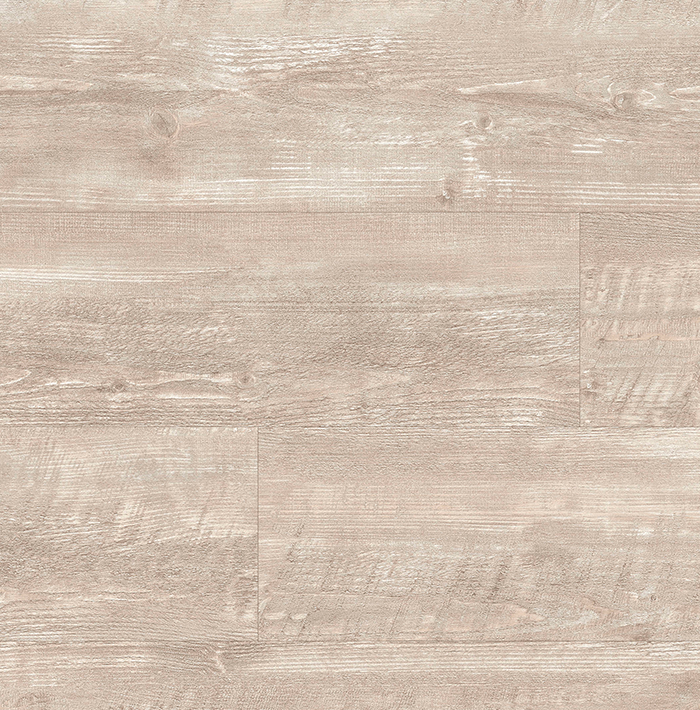
Beach Beige
Lite Collection
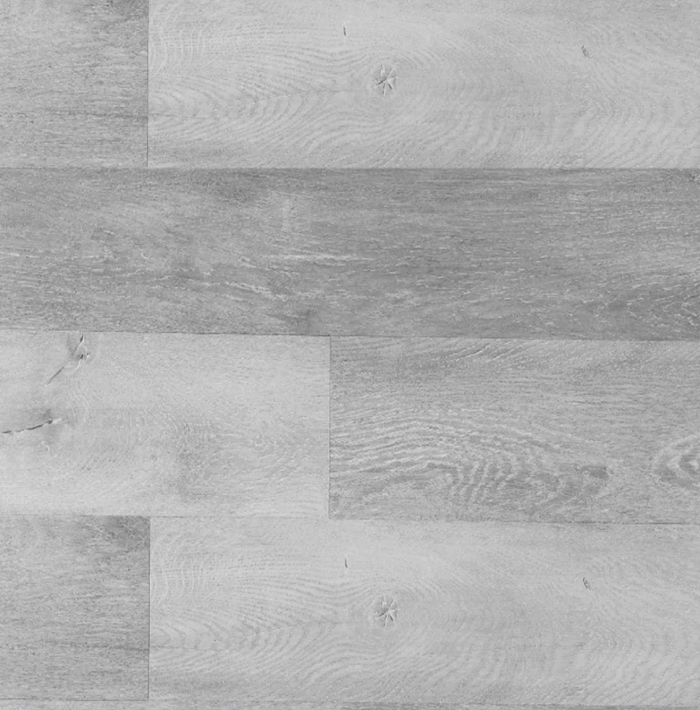
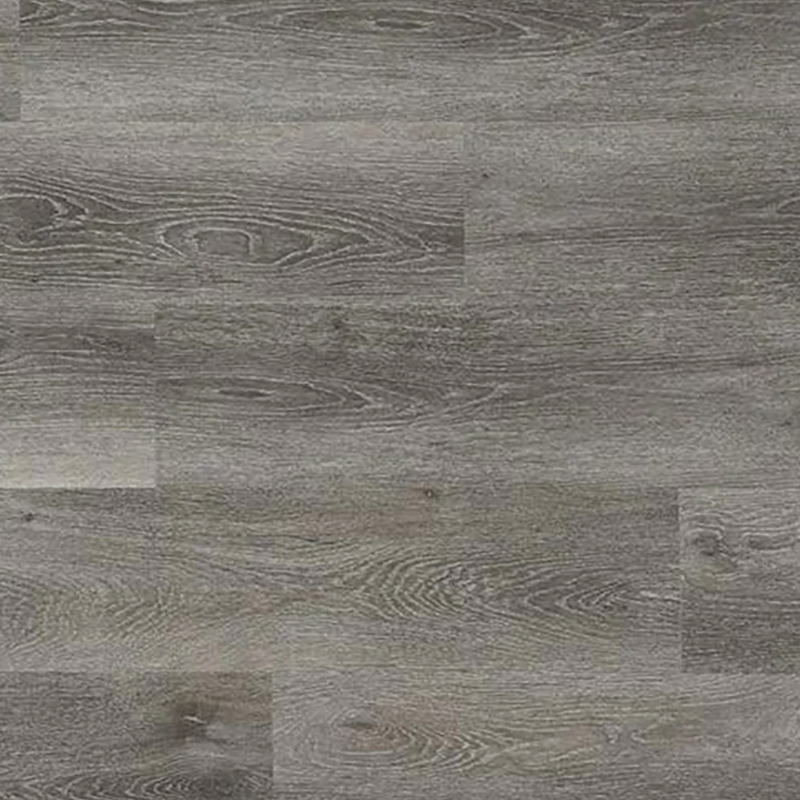
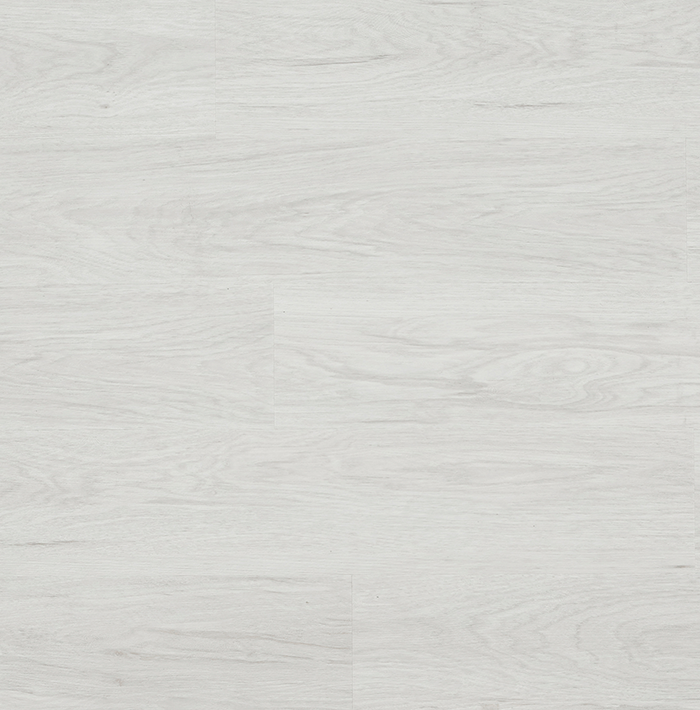
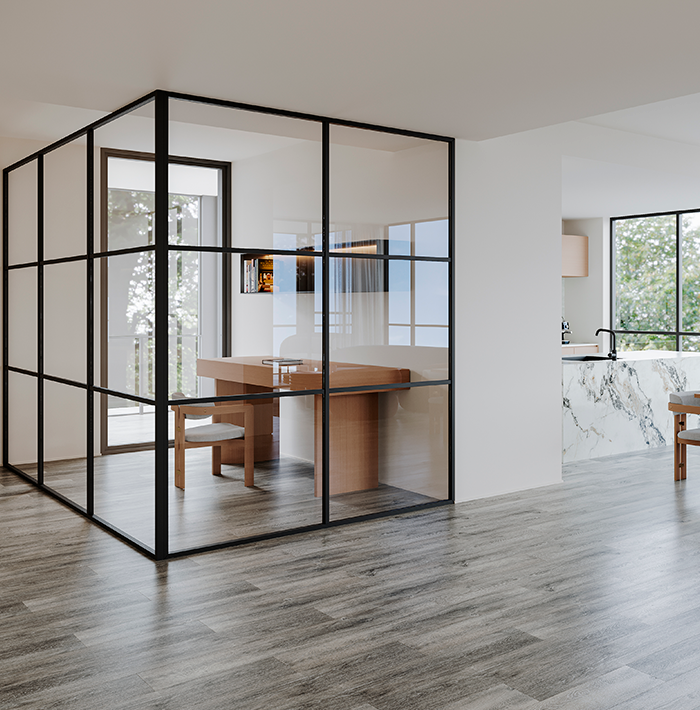
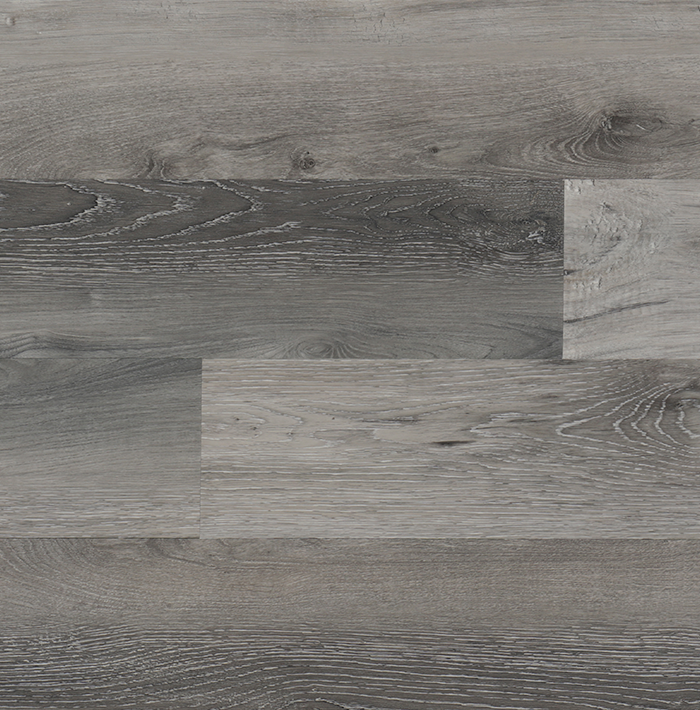
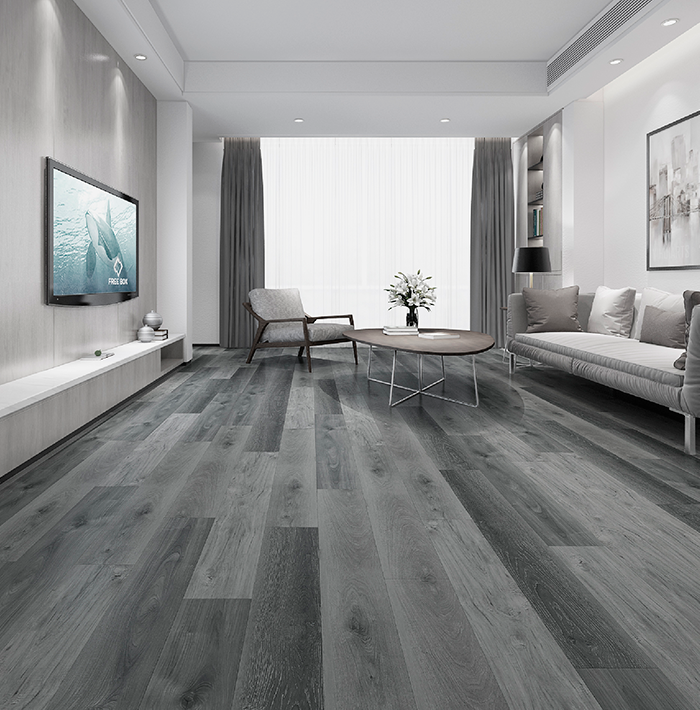
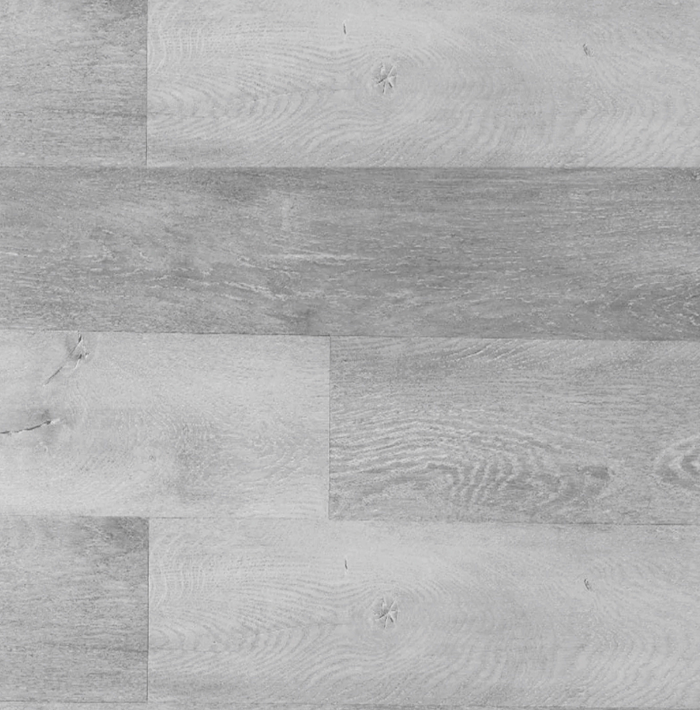
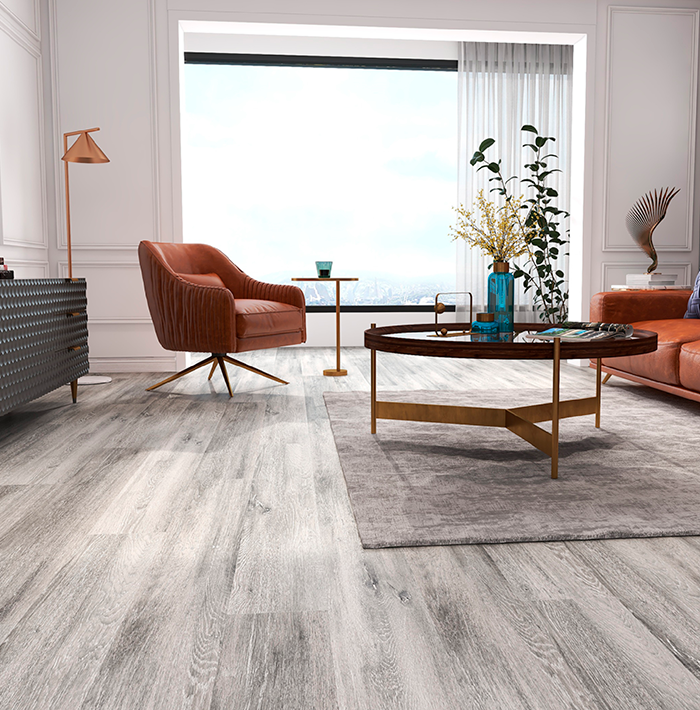
Silver Grey
Lite Collection
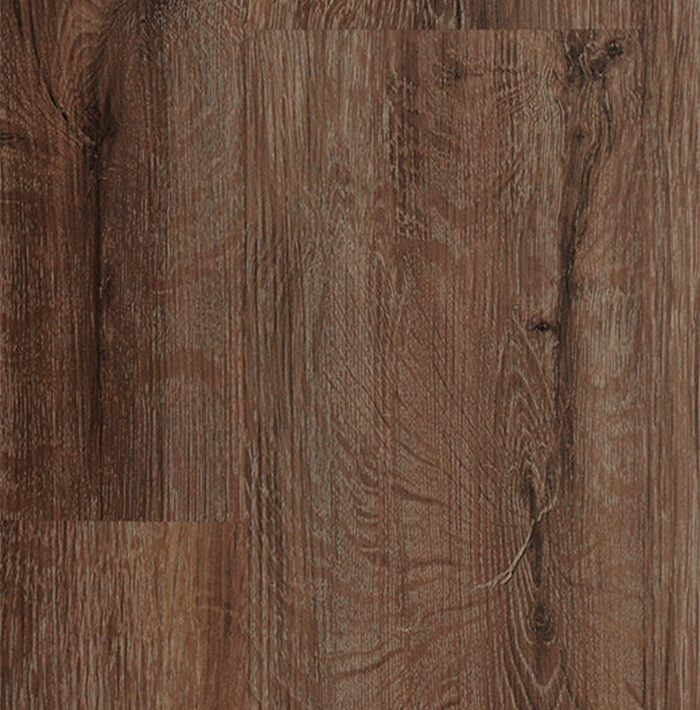
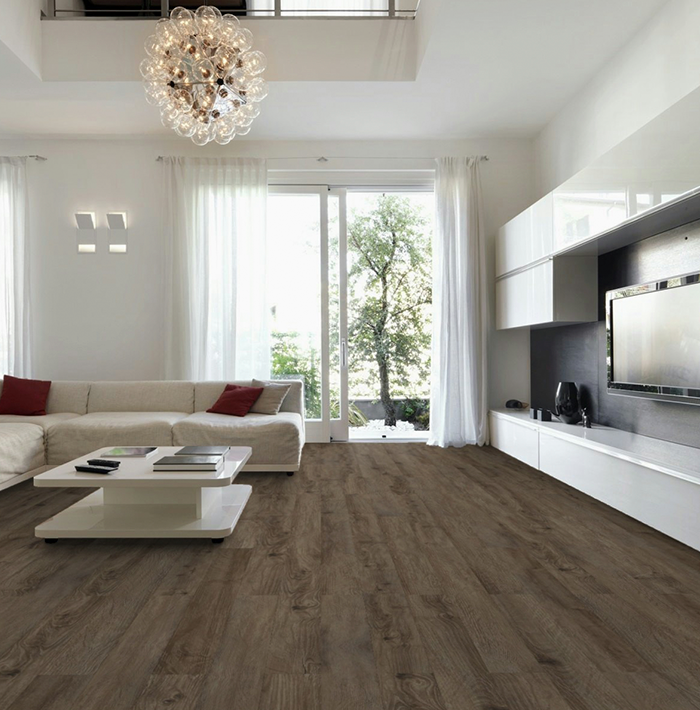
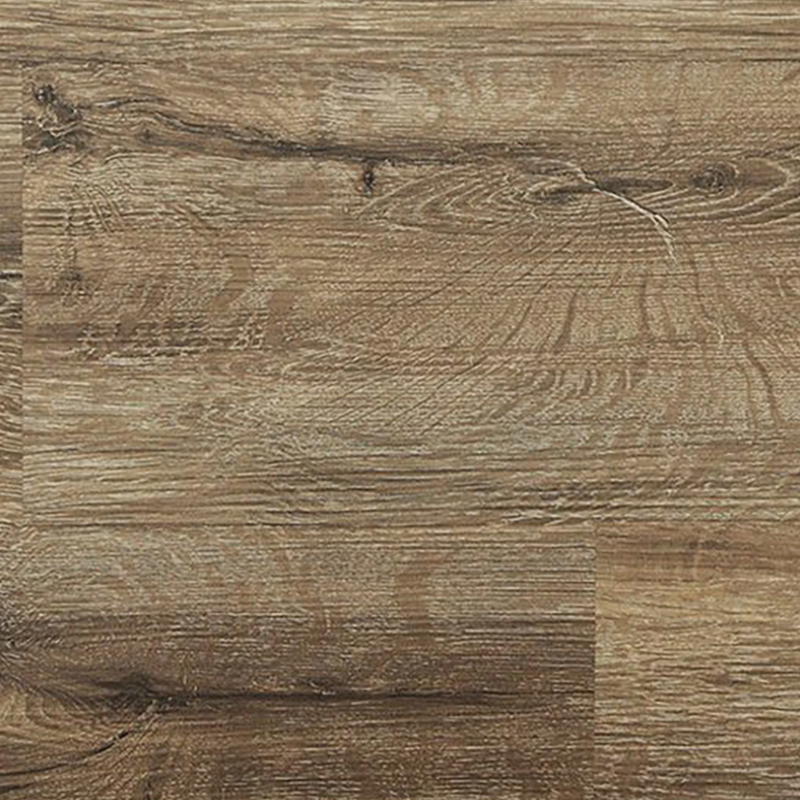
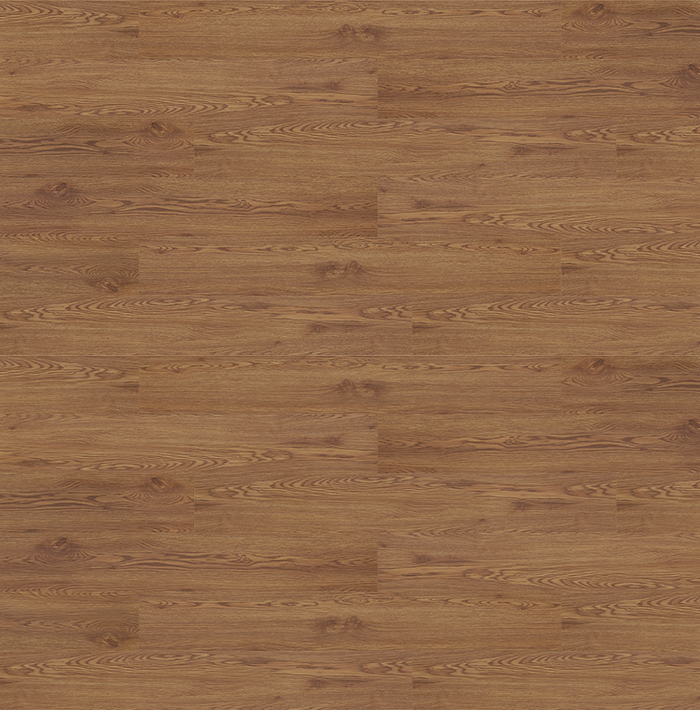
Mocha
Lite Collection
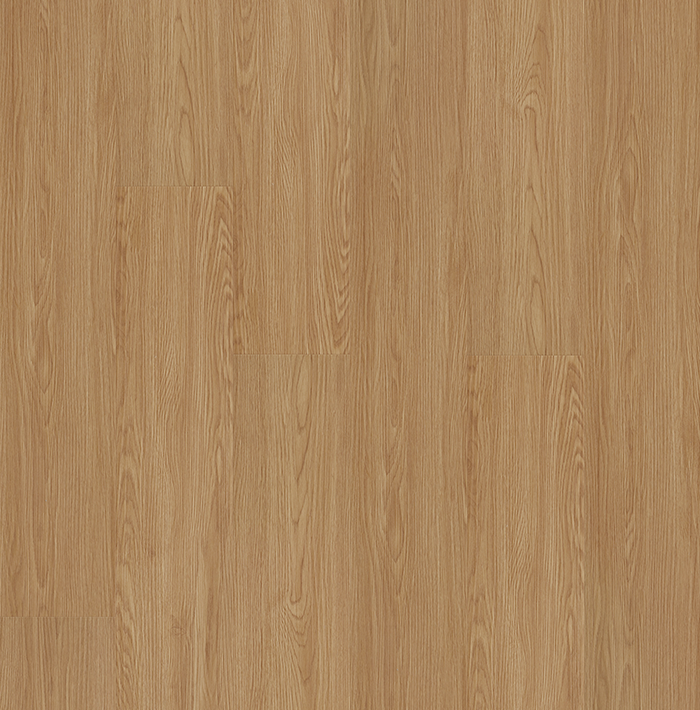
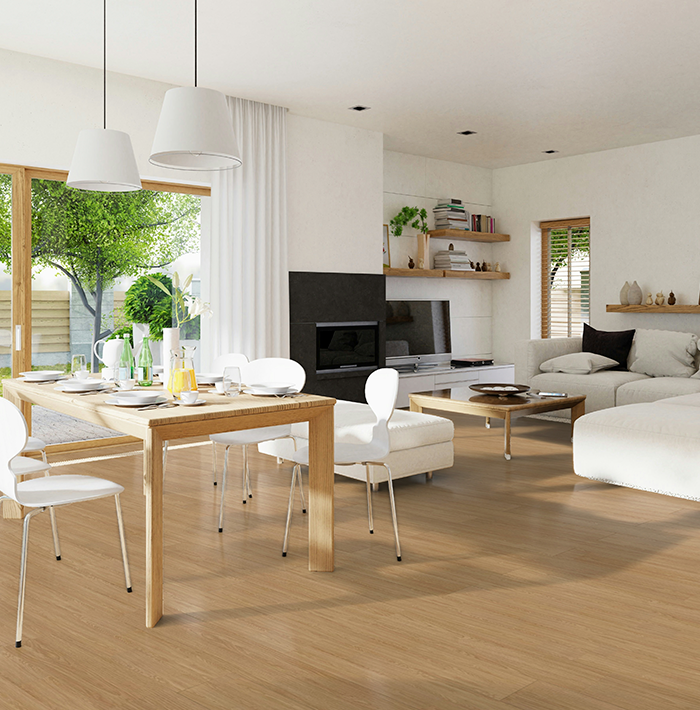
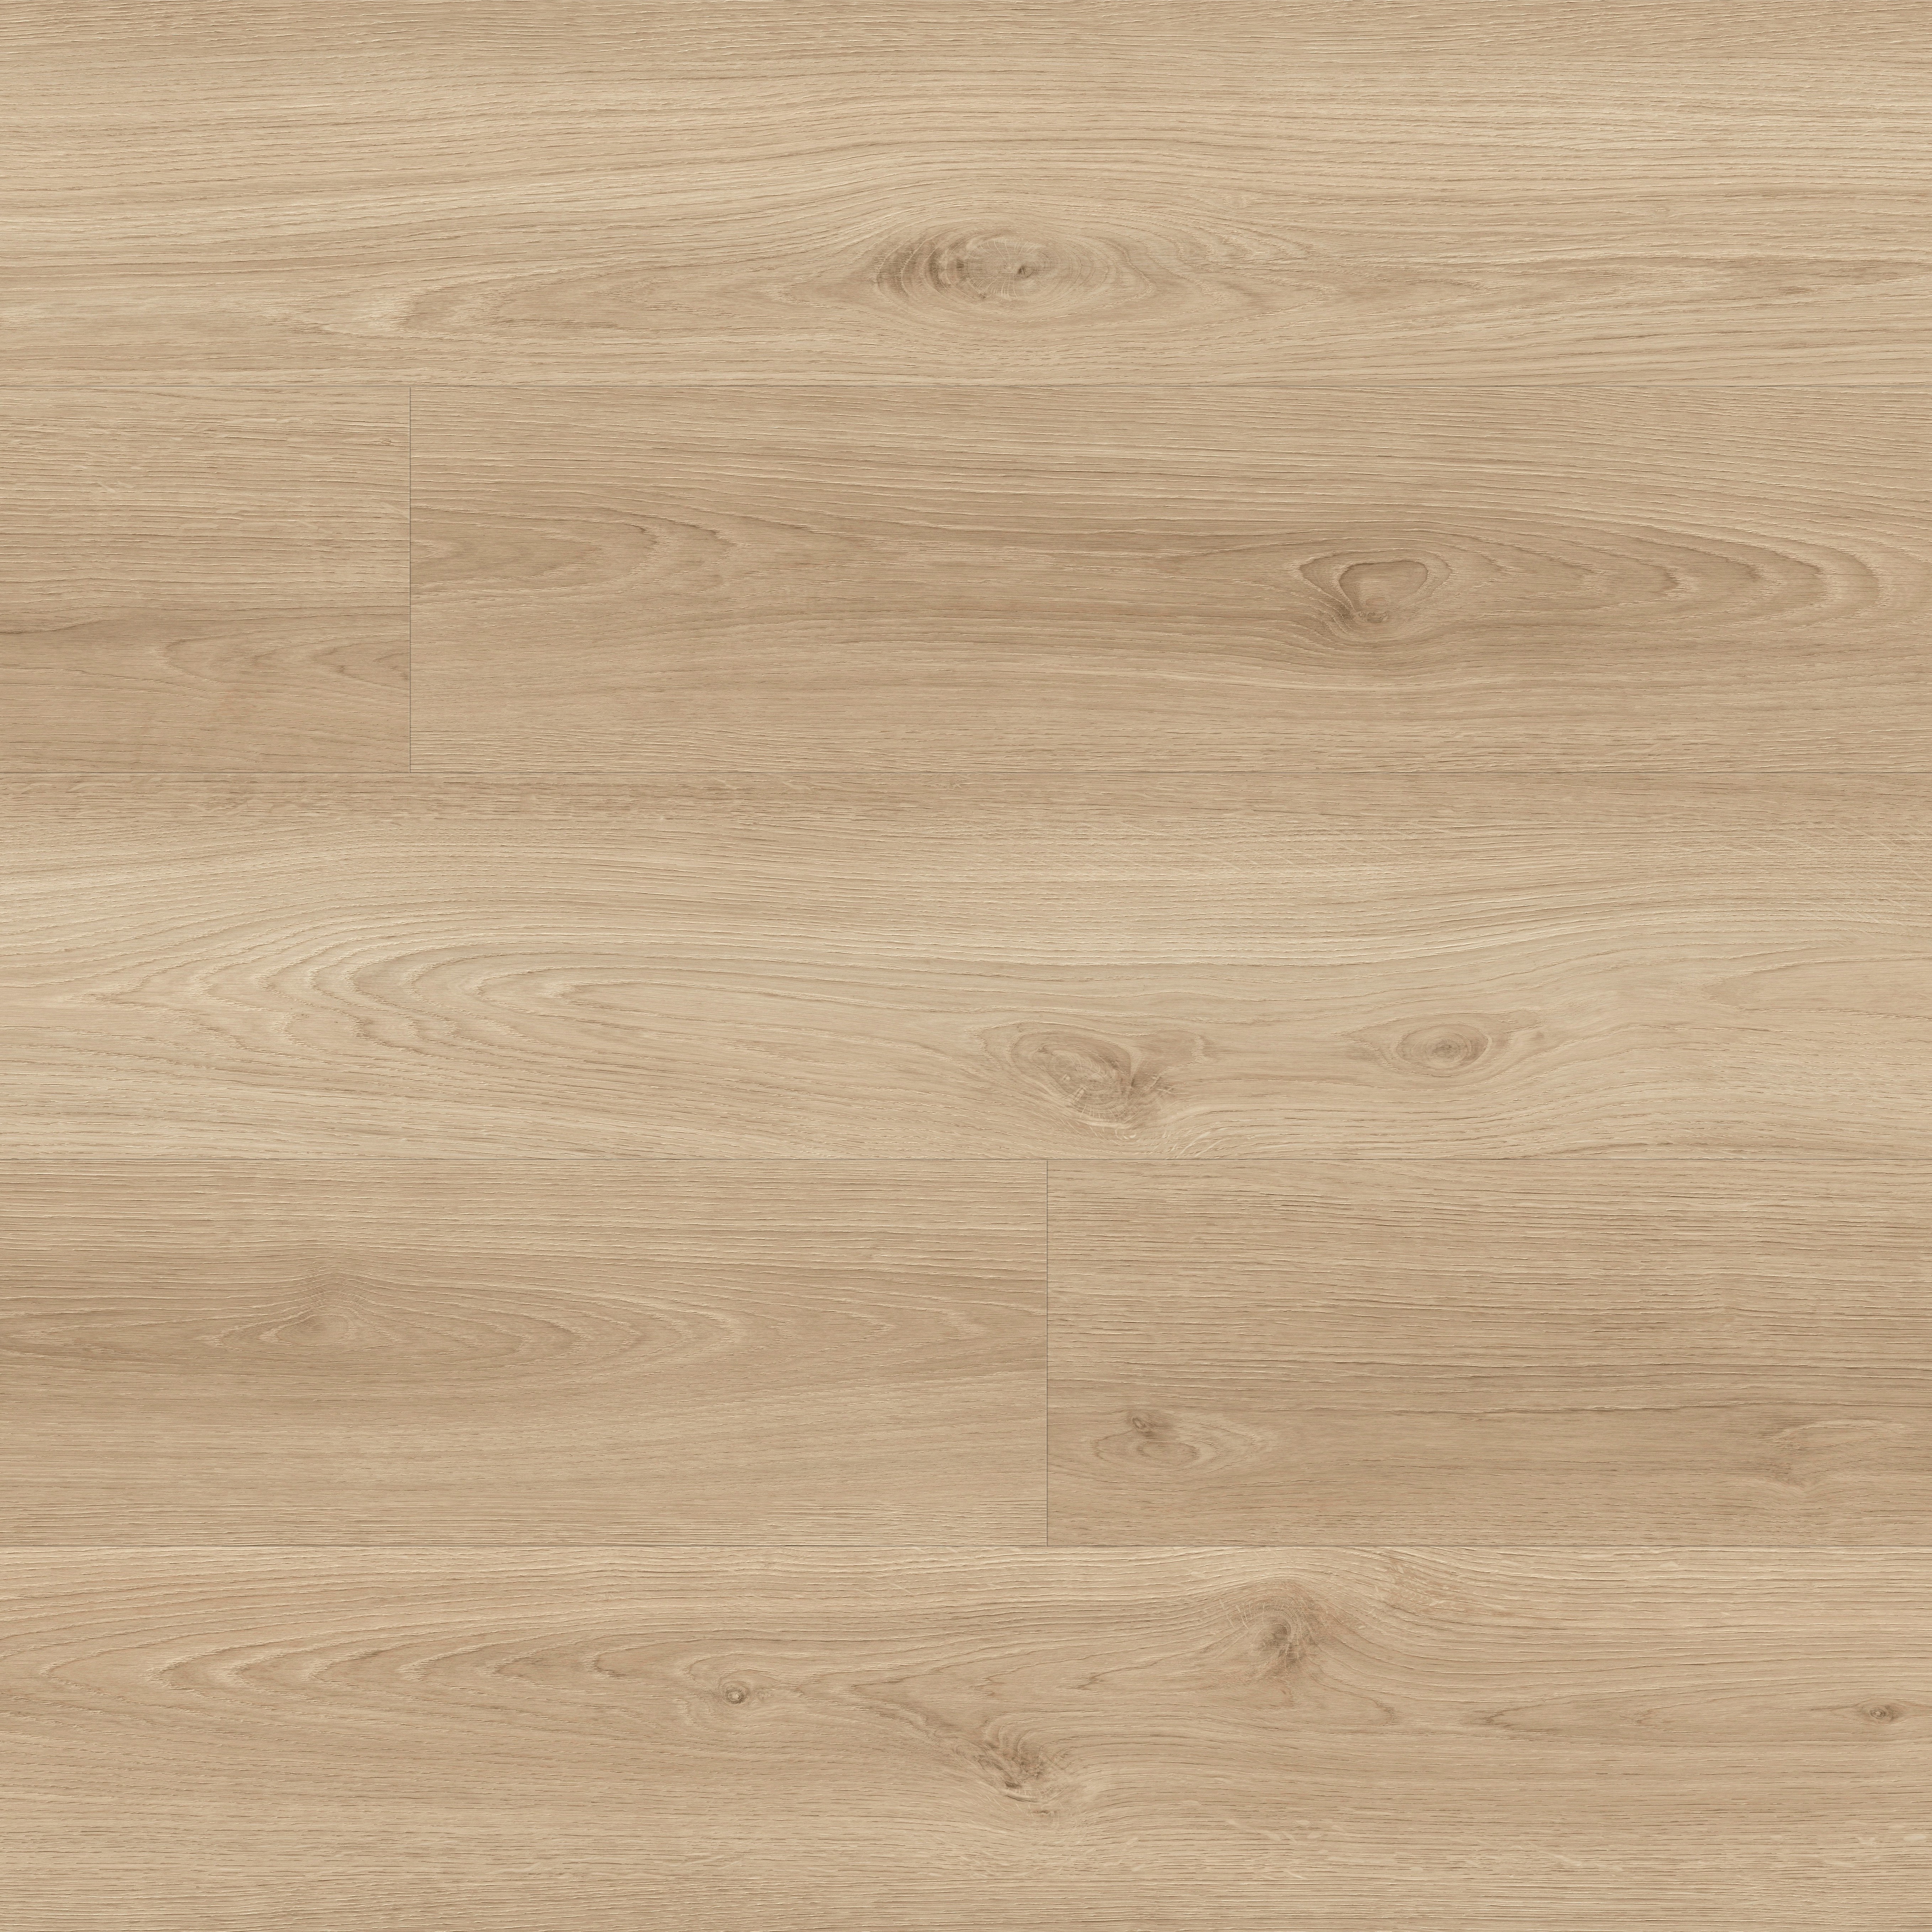
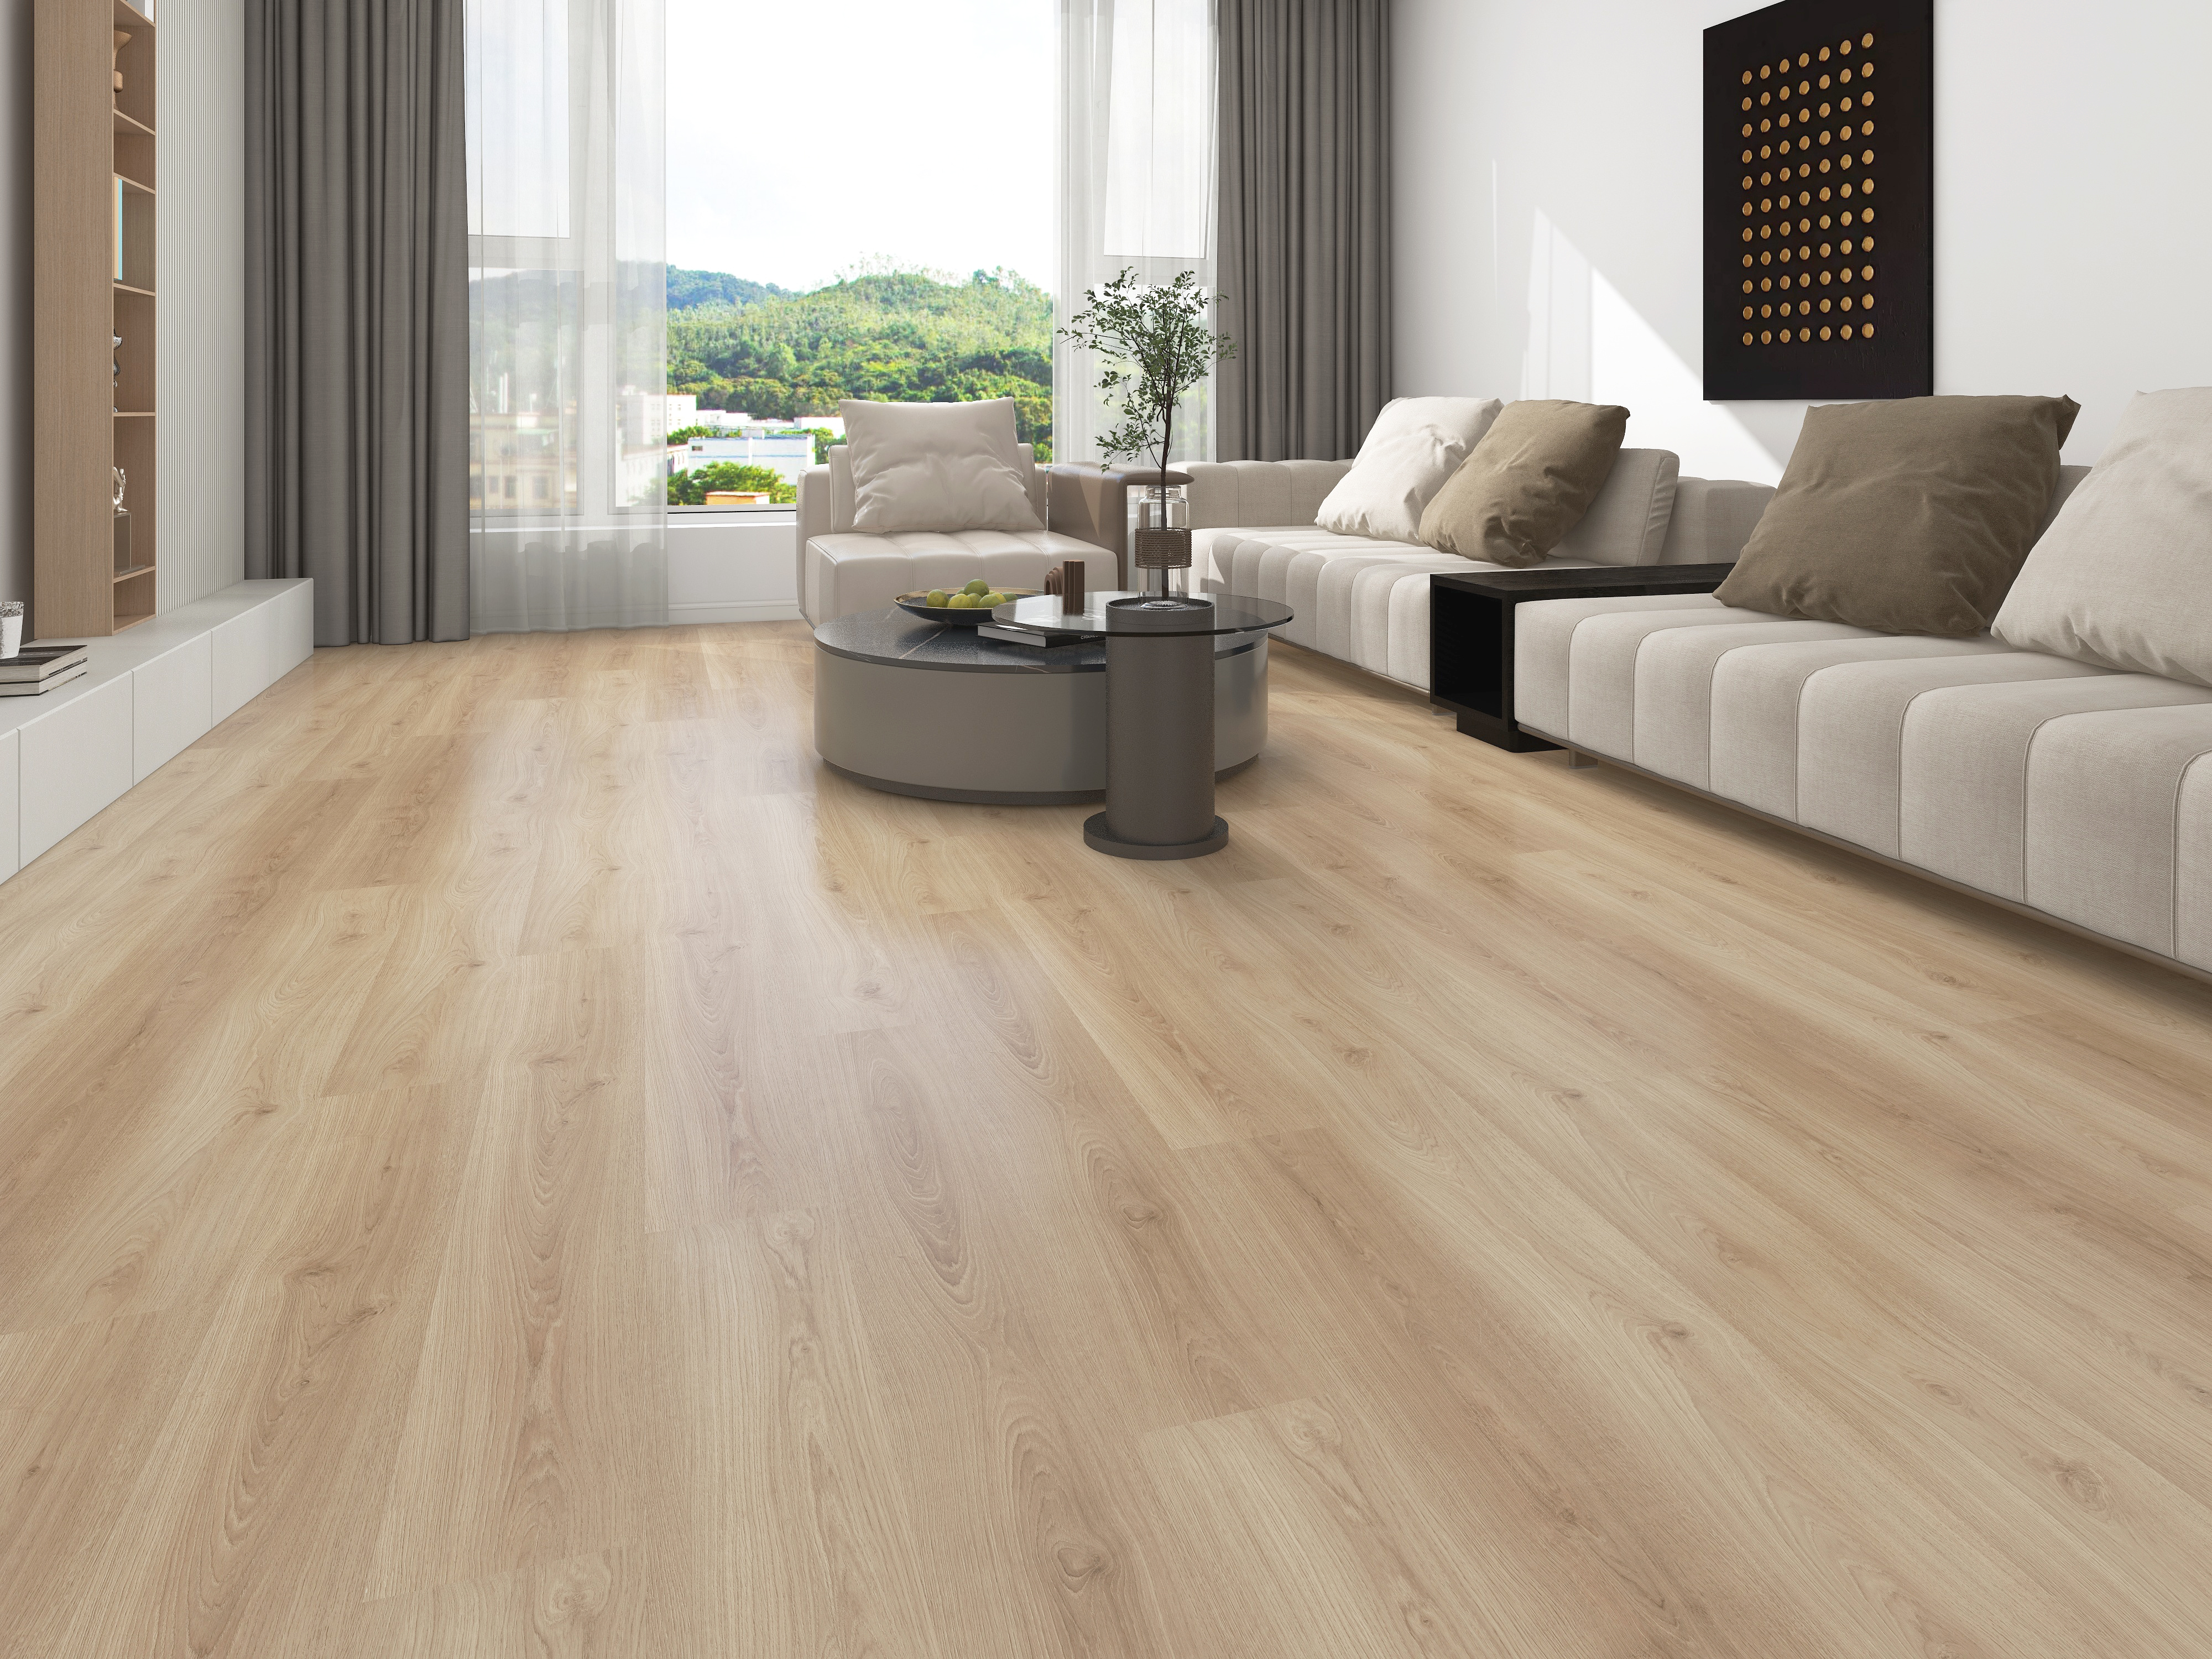
Natural Oak
Lite Collection
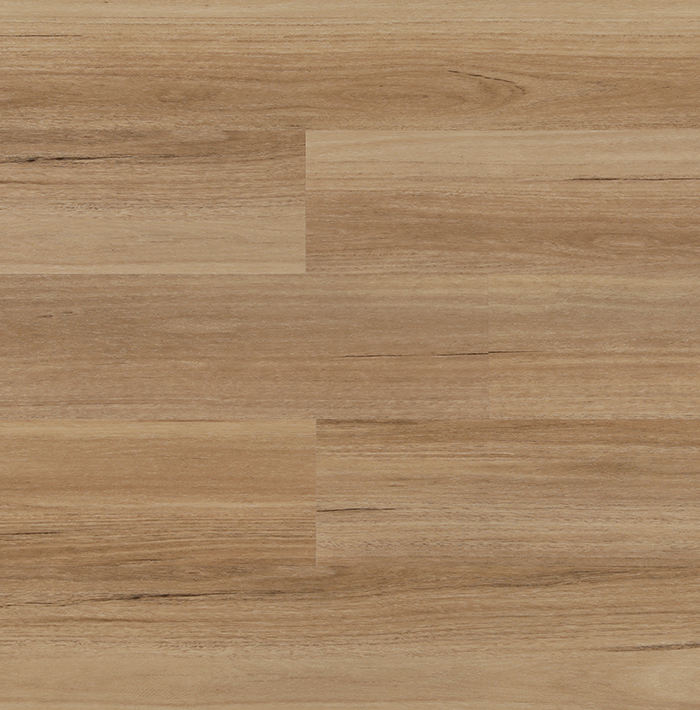
Sand Dunes
Lite Collection
Santorini
One Plus Collection
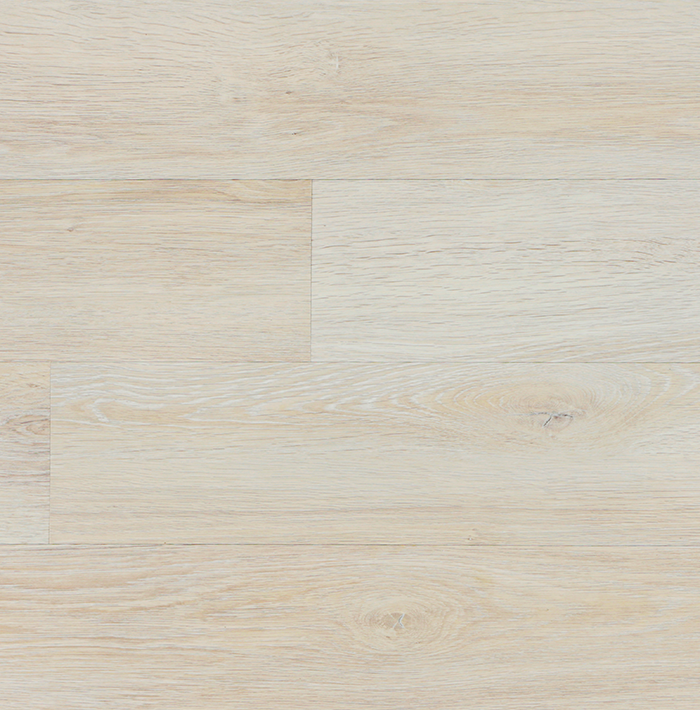
Beach Beige
One Plus Collection
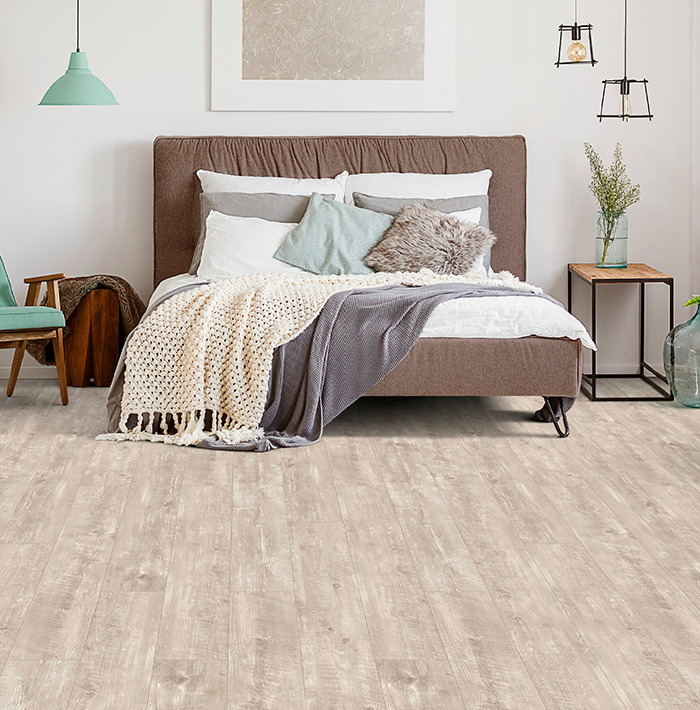
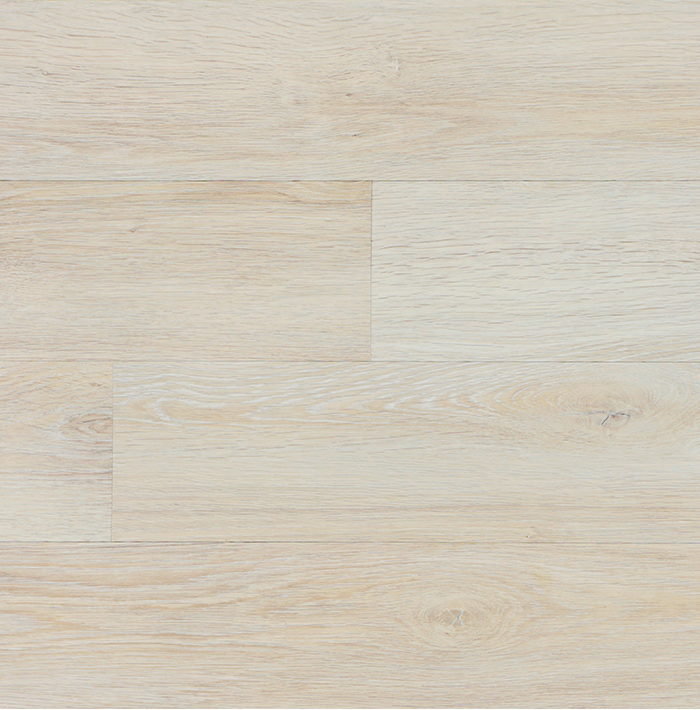
Rustic White
One Plus Collection

Silver Grey
One Plus Collection

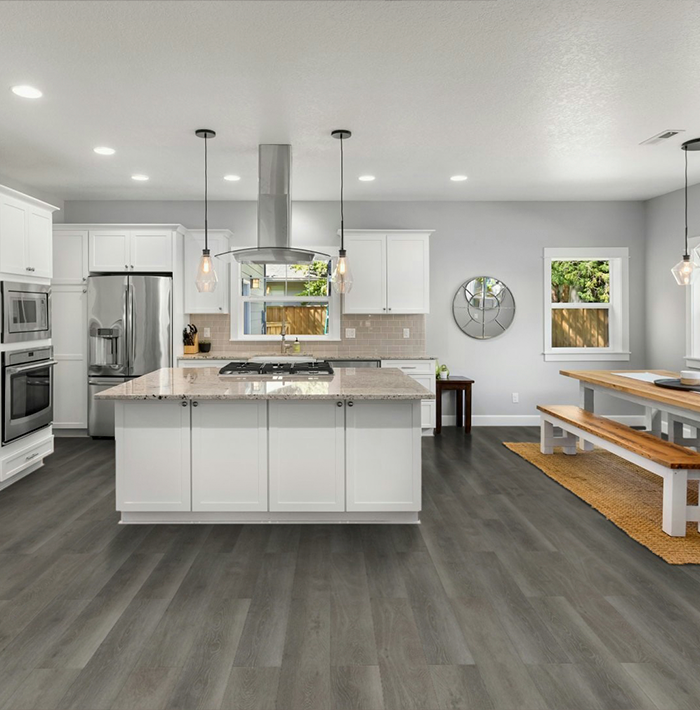
Slate
One Plus Collection
Burnt Grey
One Plus Collection
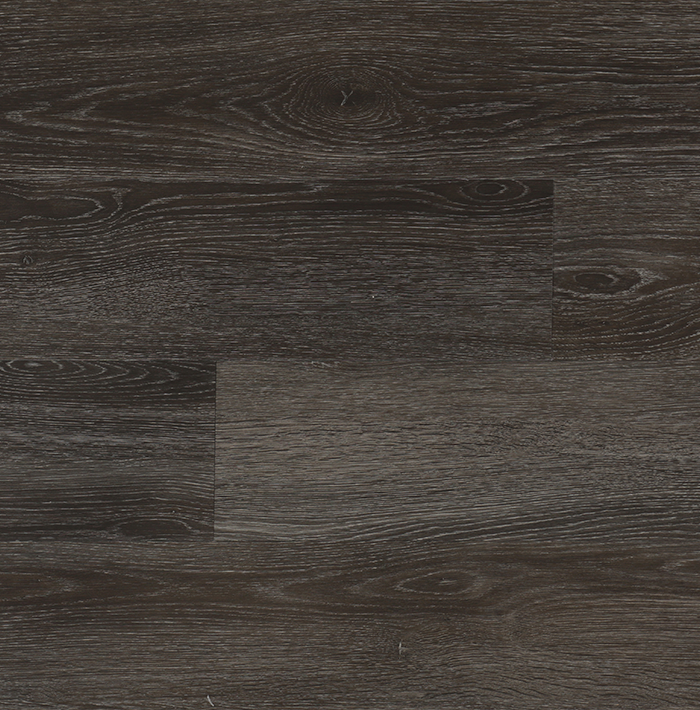
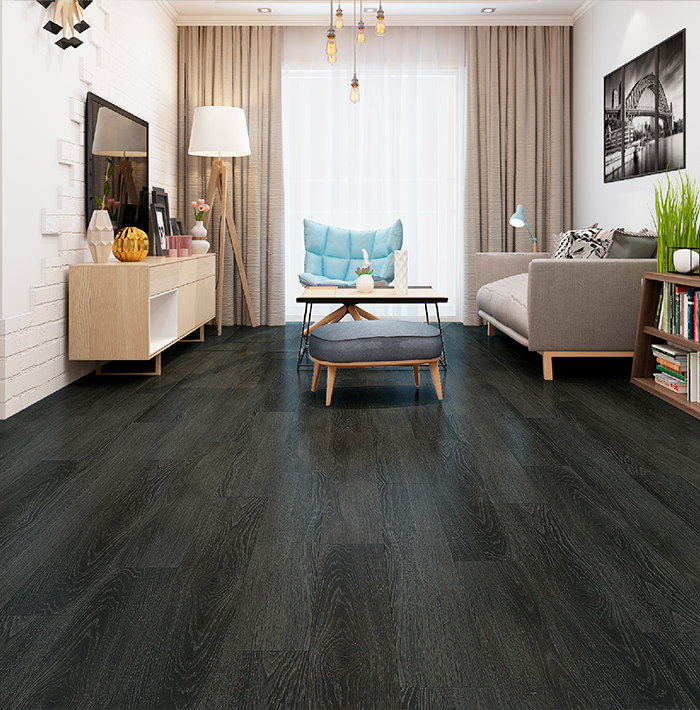
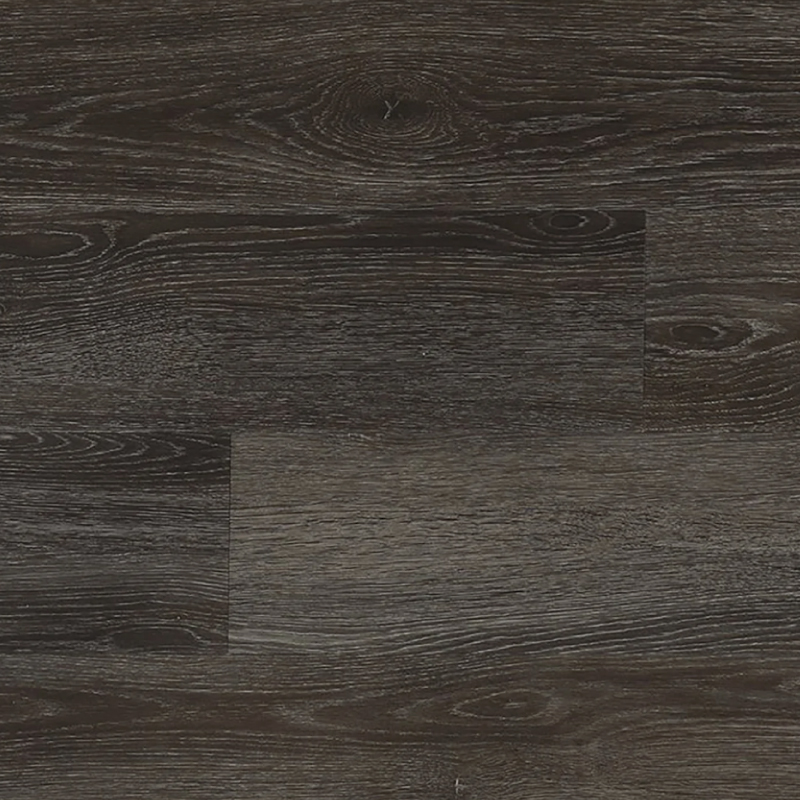
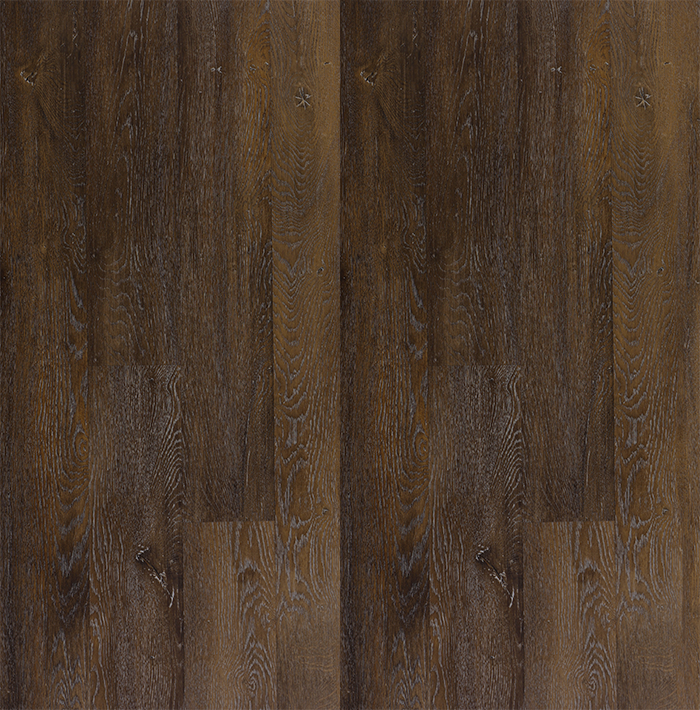
Coal Expresso
One Plus Collection

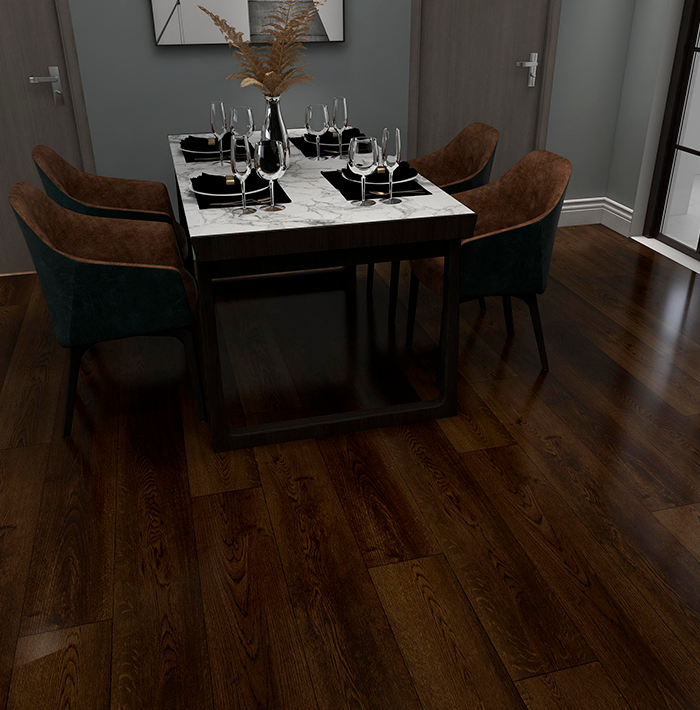
French Roast
One Plus Collection
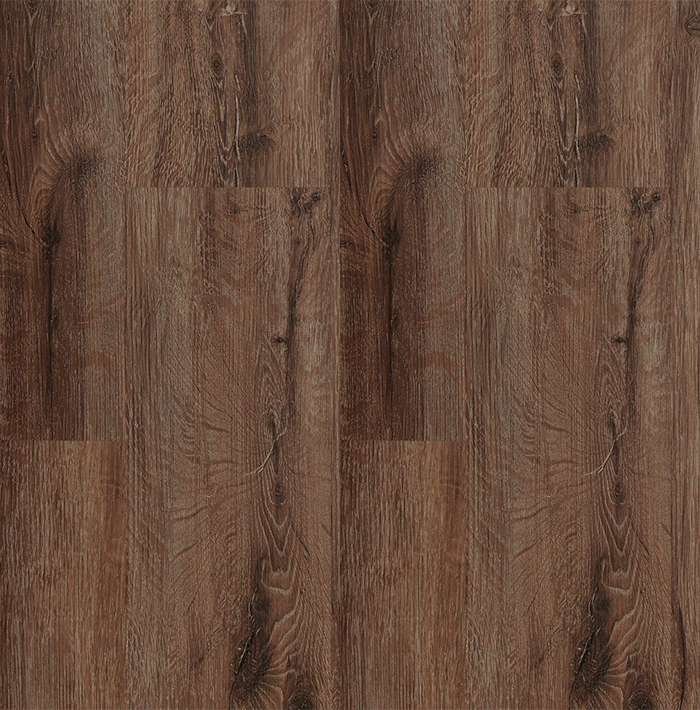
Mocha
One Plus Collection
Golden Mocha
One Plus Collection
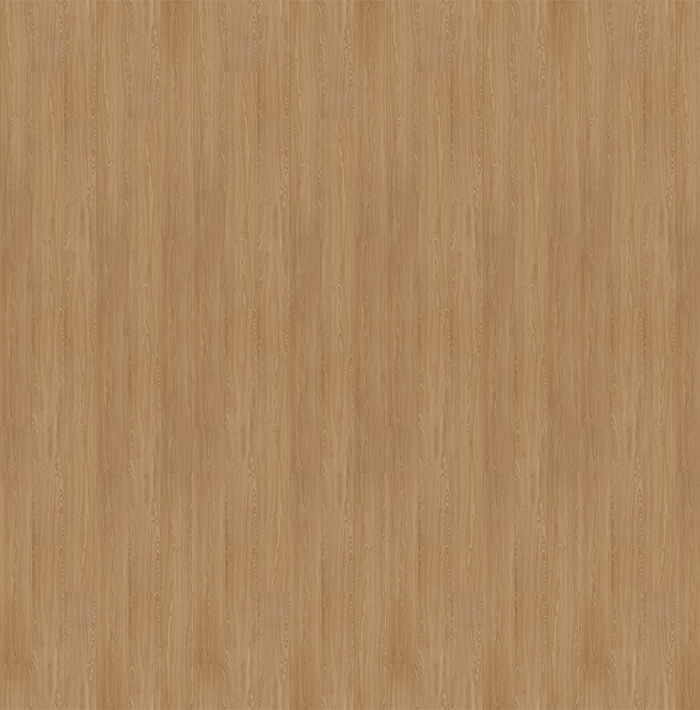
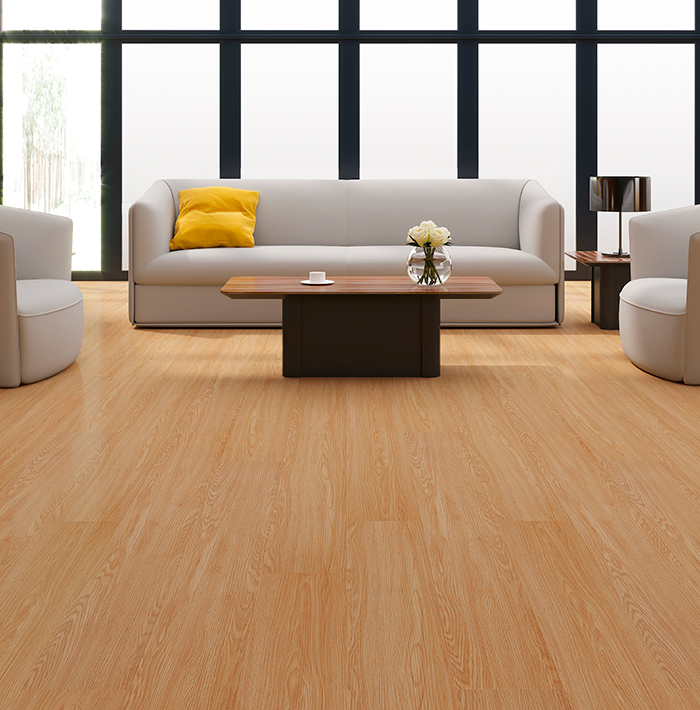
Natural Oak
One Plus Collection

Provincial
One Plus Collection
Pismo Dunes
One Plus Collection
Silver Grey
XL Collection
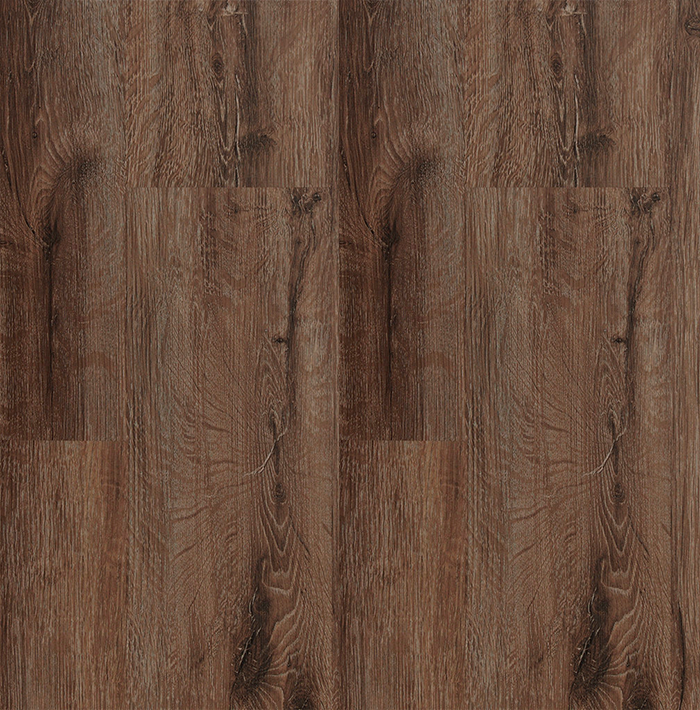
Mocha
XL Collection
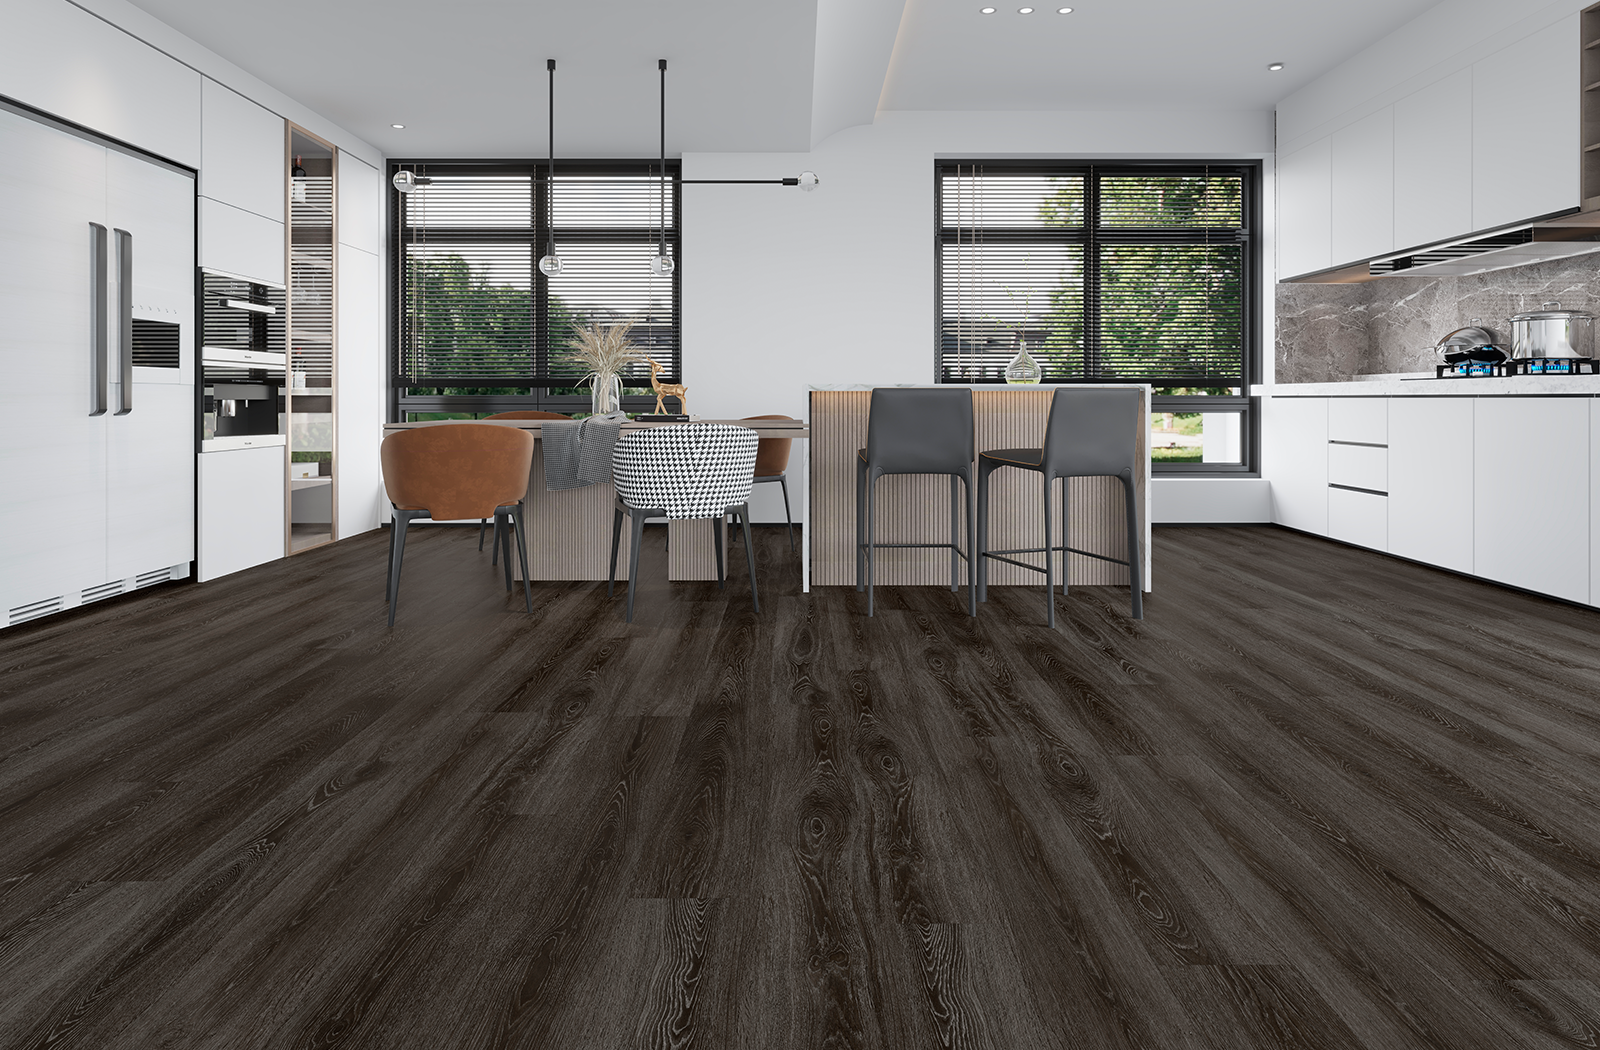
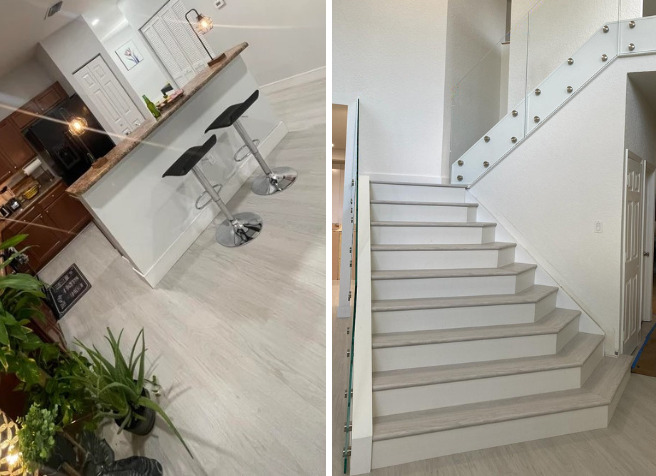
FEATURES THAT MATTER
Permshield features a rigid SPC core, a thick wear layer, a ceramic bead scratch resistant coating, a pre-attached IXPE underlayment, and so much more. Also, all of our flooring have key certifications like FloorScore and GreenGuard Gold to guarantee clean air that's safe for everyone wherever they are installed.
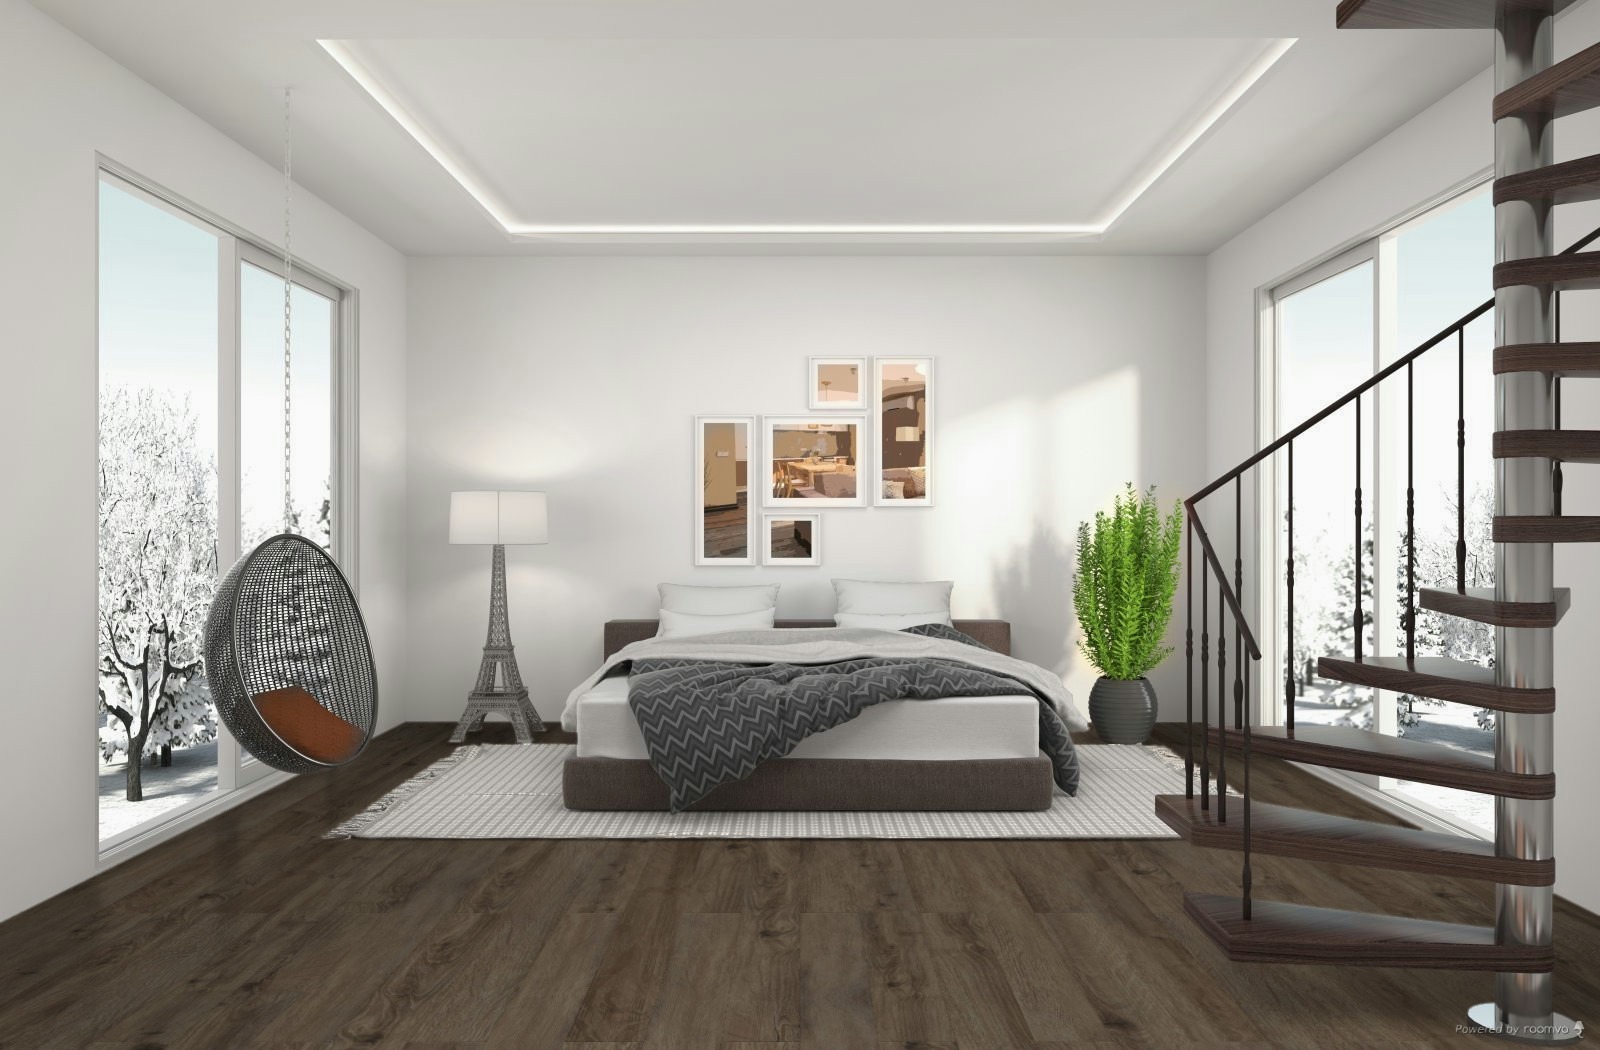
about permshield
We started with a simple mission: to make floor shopping easy. Our goal is to improve the way you shop for, install, clean and live on your new floors. Now's the time to update your floors!